Snow Scenes Photography Tips
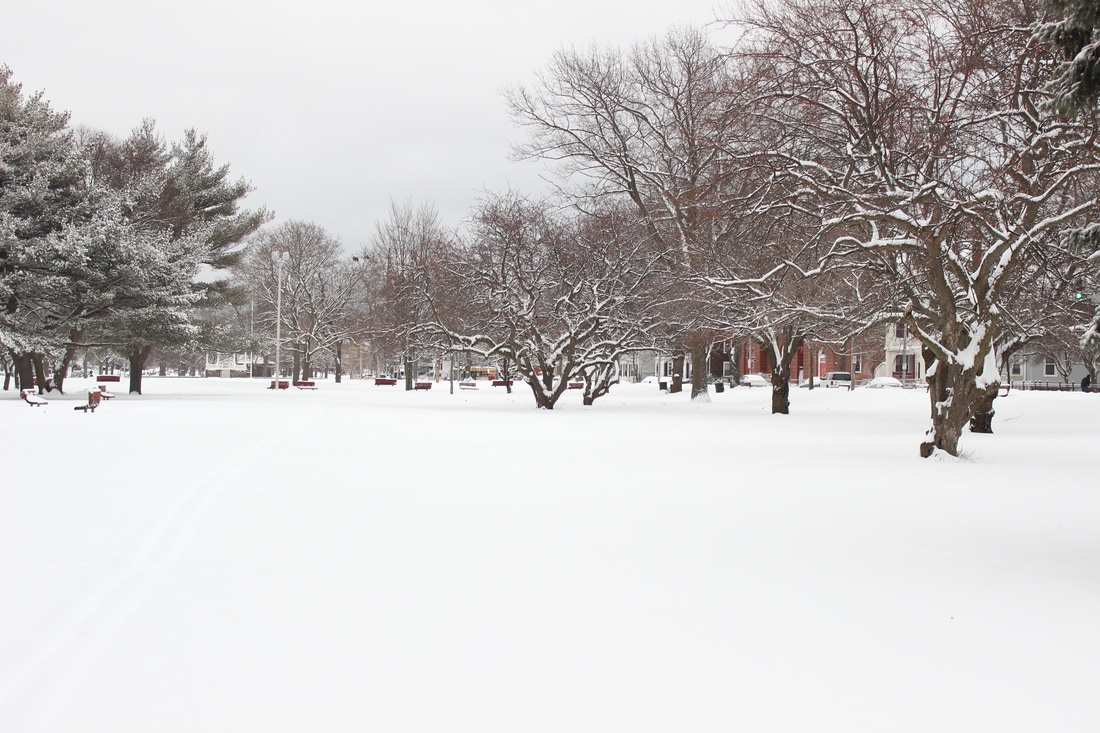
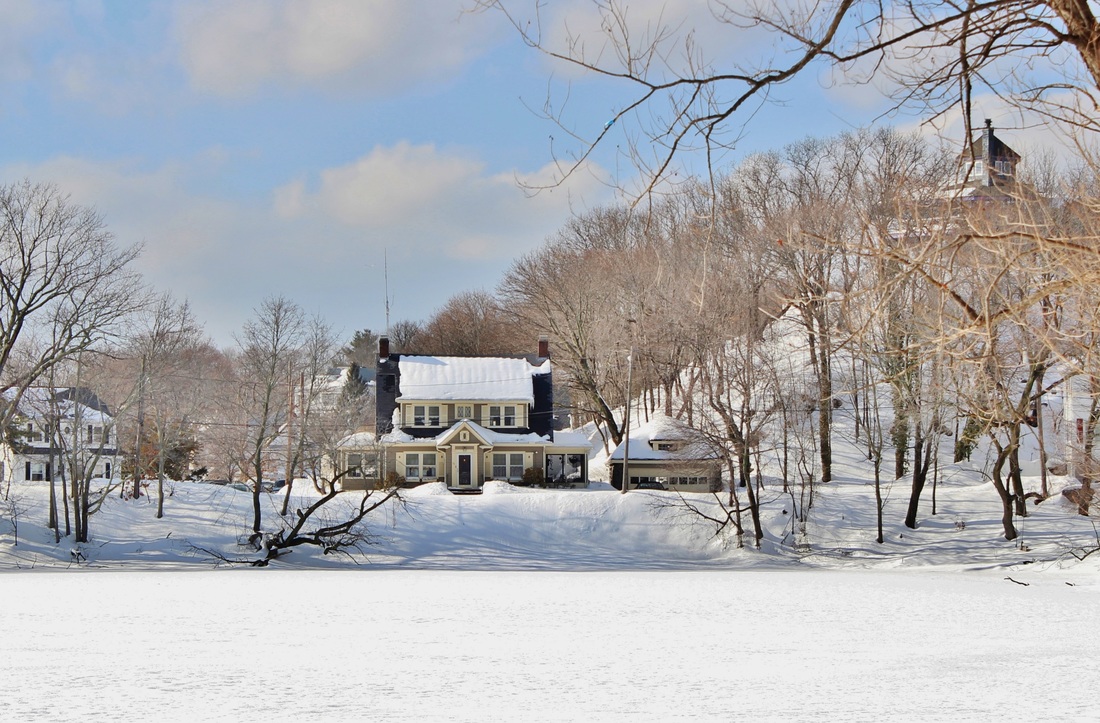
Fresh fallen snow or falling snow presents a great photo opportunity for those who love to take pictures. The bright white snow adds a certain beauty to a winter scene and can make a dull scene more interesting. The two pictures below show differnt examples of how your snow scene pictures, depending on outdoor conditions may look.
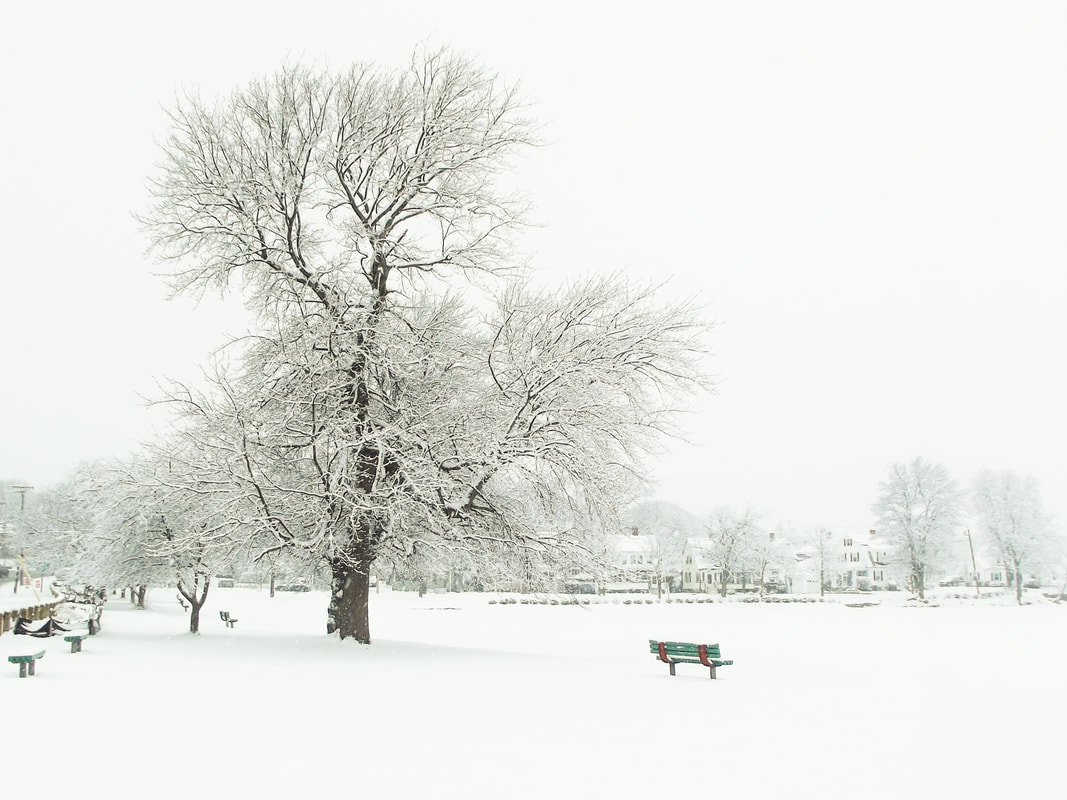
Sonw Scene Image #1
|
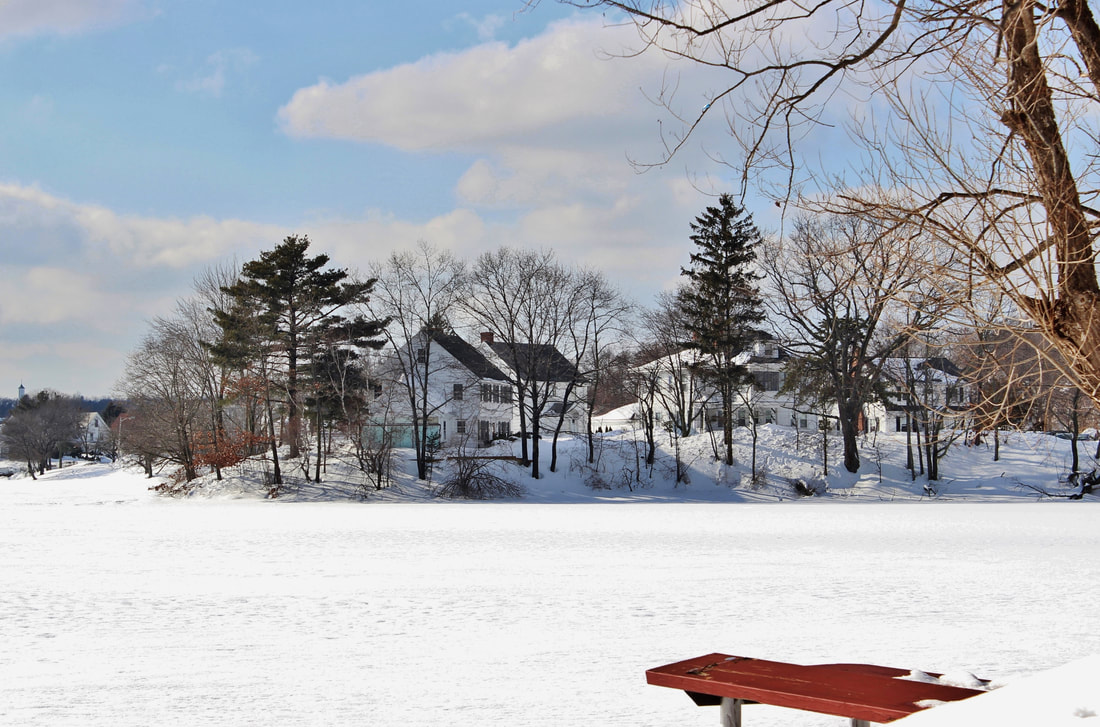
Snow Scene Image #2
|
Picture #1 was taken under cloudy skies while it was still snowing lightly. However, snowflakes are barely showing against the white snow on the ground and the whitish/gray color of the sky. Picture #2 is a different snow scene taken the day or so after a snowfall. It was partially sunny and there were not any dominant storm clouds to make the scene a grayish. As you can see, the colors are more vibrant. So take note of the look of these examples taken under different outdoor conditions.
Taking pictures of winter scenes with snow is not difficult, but there are a couple of very important things that need attention when you are taking the pictures. Under exposure and the color tint of the snow scene image may be problematic at times. Also, if you are trying to capture snowflakes in the scene while it is snowing, the shutter speed and lens focal length being used is important.
Taking pictures of winter scenes with snow is not difficult, but there are a couple of very important things that need attention when you are taking the pictures. Under exposure and the color tint of the snow scene image may be problematic at times. Also, if you are trying to capture snowflakes in the scene while it is snowing, the shutter speed and lens focal length being used is important.
This article contains suggestions and tips for photographing snow scenes and adjustments that might need to be made.
Underexposure of Snow Scenes: Today's cameras have great exposure metering systems that will average out the light in most scenes so that the image will be properly exposed. However, snow scenes that are dominated by bright white snow may cause the light metering system to cut back on the amount of light entering the camera. The end result will be an underexposed image, possibly with a grayish or blue colored tone in the scene.
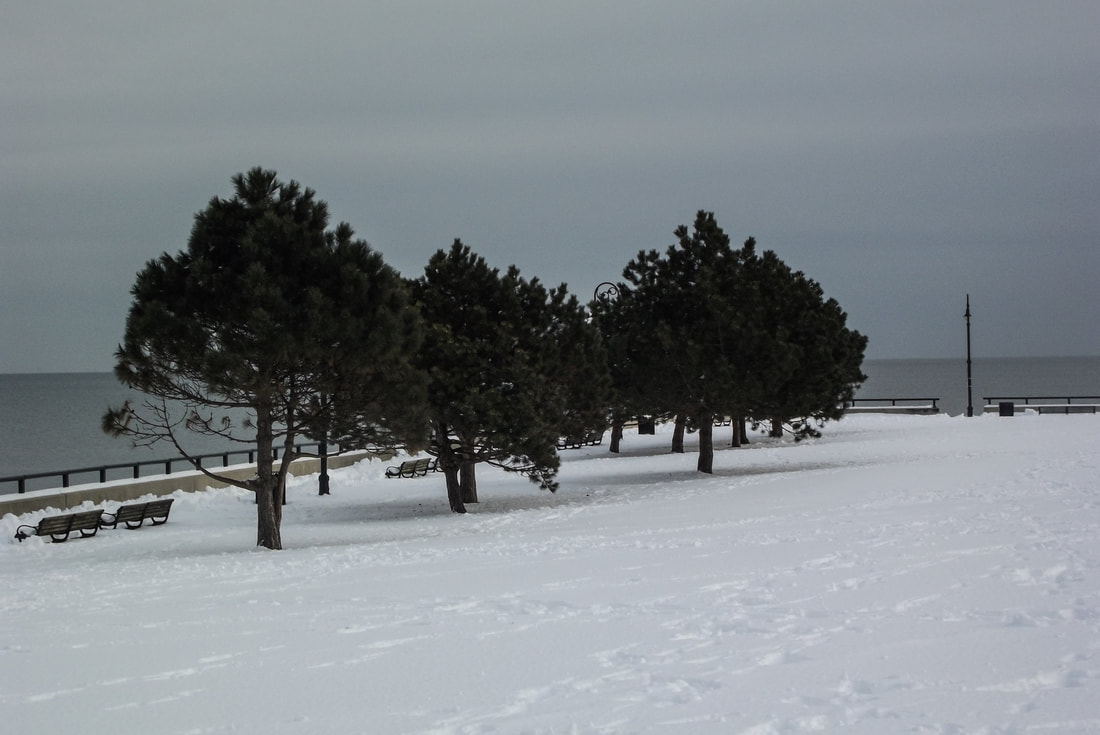
Snow Photography Image #3
|
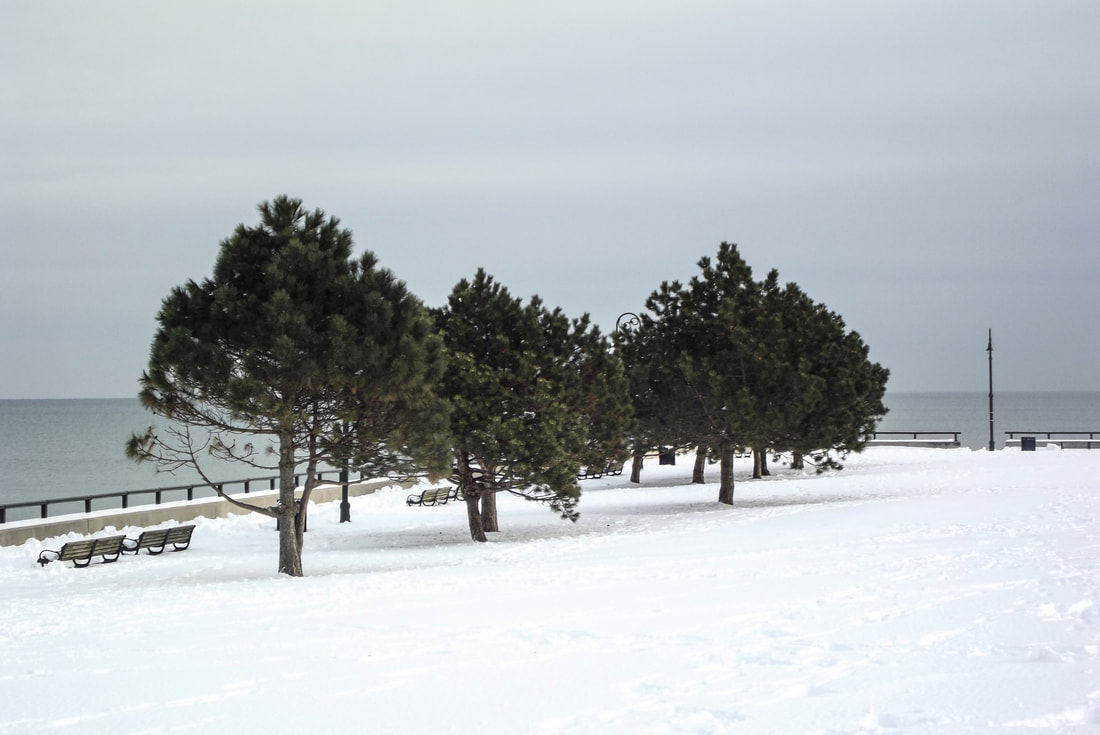
Snow Photography Image #4.
EV+1
|
Image # 3 is a typical example of under exposure caused by an abundance of bright white snow in the scene. Image #4 is an example of the same scene taken using your camera's Exposure Compensation feature.
Use Your Camera's Exposure Compensation EV+/EV- Feature: The Exposure Compensation feature allows you to quickly adjust the amount of light entering the camera in small increments so that you can lighten or darken your pictures as you take them. This is a feature included in just about all digital cameras from Digital Slrs to Basic Compact cameras and even Smart Phone cameras.
Typical exposure compensation settings that you may need to use for snow will be +.3, +.7, +1.0 or higher which will allow more light to reach your camera's image sensor. That in turn will make your images lighter in proportion to the setting you choose. Use the opposite settings if your pictures are too bright. (-.3, -.7, -1.0 etc.)
Since every snow scene is different as far as lighting, there is not a universal exposure compensation setting that fits every picture you take. If your snow scene picture is too dark, start out by using EV+1.0. Check the image on your camera's LCD screen and adjust up or down accordingly until you find the setting that works best for you.
When making your pictures of snow scenes lighter, be careful that you don't over do it. Large areas of bright white snow with no details or shadows can look like a big blank white space in your image.
For those of you who have Digital SLR or Compact System cameras, the same type of adjustments can be made using your manual, aperture priority, or shutter speed modes. Check the Camera Exposure Basics tutorial for more on adjusting exposure.
Bluish Tone in Your Picture?...Change the White Balance: Another common problem with scenes that contain large areas with of snow is that they may tend to have a bluish tint, especially on cloudy/overcast days or in shade. This blue color cast can be corrected by using your camera's White Balance function.
Locate the white balance (WB or AWB) function in your camera's menu and then change the setting to Cloudy or Shade. This will create a warmer tone in your snow scene pictures and will eliminate most if not all of the unwanted blue color tint.

Snow Photography Picture #3, taken with White Balance set to Daylight
|
Snow Photography Picture #4 taken with White Balance set to Shade
|
Snow scene picture #3 was taken with the white balance set to Daylight. Even though the picture was taken in the middle of the day, it was a heavily overcast day day and there is a bluish tint in the entire image. The white balance setting was changed to shade for picture #4 and the bluish tone was eliminated.
The bluish tone in picture #3 may be acceptable to many photographers, and you might say it enhances the cool winter feeling. However, if the actual snow in your images shows too much blue for your taste, then it might be a good idea to change the white balance setting.
Please read the White Balance tutorial for more on how to use your camera's White Balance feature.
Everyone has different tastes when it comes to the amount of off color tint that is acceptable or how light or dark an image should be. If you feel your camera doesn't always give you the exact look you like, you might try using a photo editing program after your pictures have been taken to make minor adjustments to your images.
Adobe Photoshop Elements or Corel Paintshop Pro are good starting points when searching for photo editing software. They contain useful tools for fixing and enhancing your images even beyond correcting color casts or making images lighter and darker.
Taking Pictures of Falling Snow: Shutter Speeds and Aperture: To freeze the snowflakes in falling snow you will need to use a somewhat fast shutter speed of at least 1/125 sec, but 1/250 sec or faster will work better to freeze the motion of the snowflakes. (See image #5 below)
On the other hand, using a slower shutter speed such as 1/60 sec or less will cause the snowflakes to show as streaks or blurs.(see image #6)
On the other hand, using a slower shutter speed such as 1/60 sec or less will cause the snowflakes to show as streaks or blurs.(see image #6)
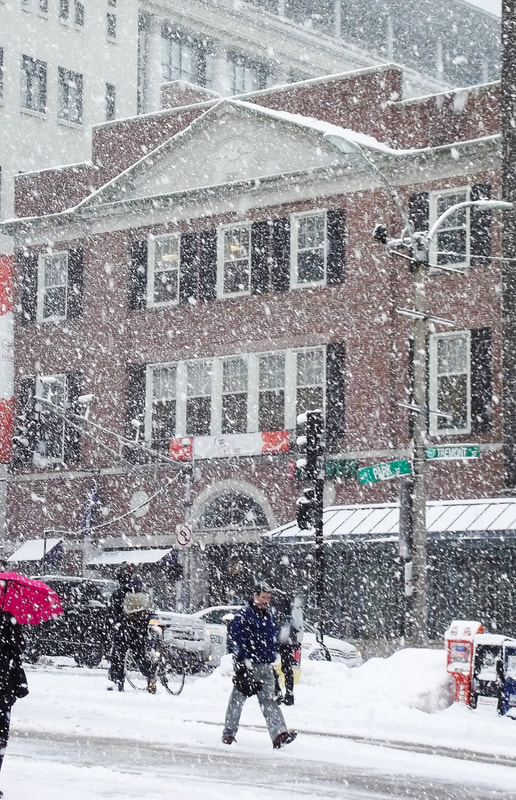
Snow Photography Image #5. Falling snow. Shutter speed 1/250 second
|
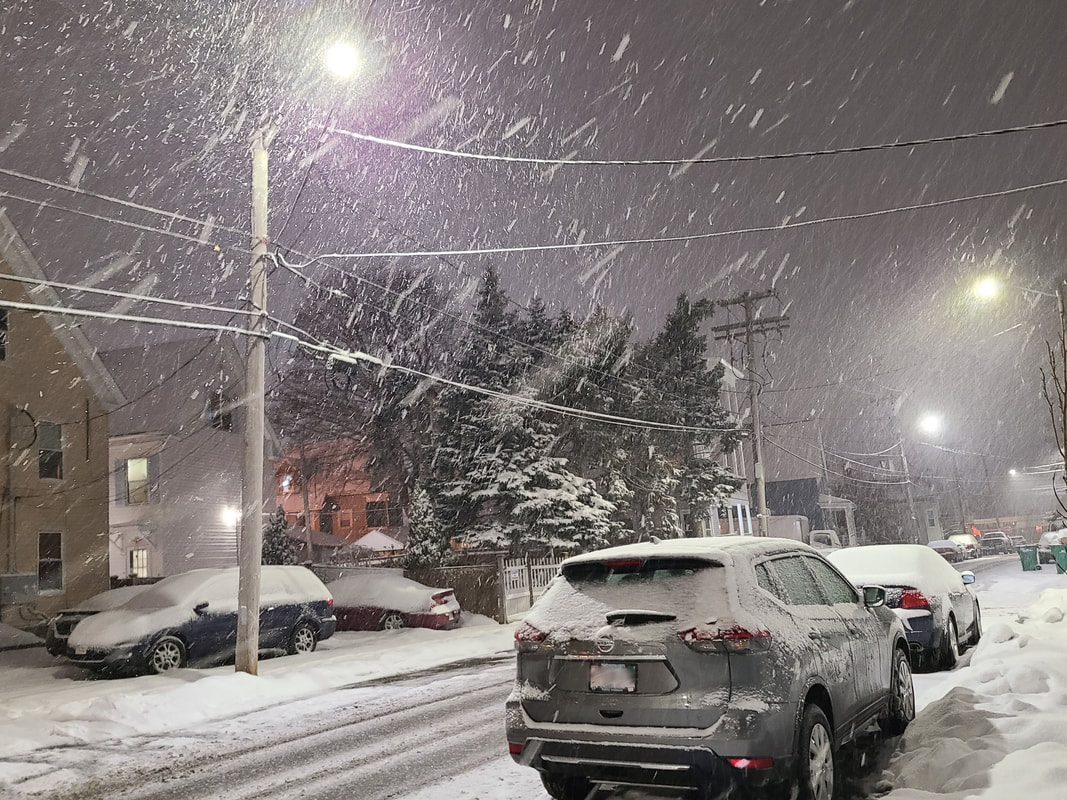
Snow photography Image #6. Falling snow. Shutter speed 1/30 second,
|
If you are using a Digital Slr or Mirrorless camera, it is best to use a zoom lens. That will allow you change the perspective (view) without having to change the lens. (and you won't have to worry about moisture getting in the camera when you change the lens)
Smaller lens aperture openings (F8 for example) will show more snowflakes in focus, but be aware that the correct exposure with a small aperture setting might require a slow shutter speed. To avoid having to use a slower than desired shutter speed, try setting your camera's ISO to 800 or higher. That will allow you to use a faster shutter speed if necessary.
Another tip for taking pictures of falling snow is that falling snow will show better in a scene where there is something darker than the snow in the foreground or background. The darker color will create a nice contrast against the snowflakes.
Another tip for taking pictures of falling snow is that falling snow will show better in a scene where there is something darker than the snow in the foreground or background. The darker color will create a nice contrast against the snowflakes.
Using longer lens focal lengths tends to compress the space in a scene and as a result, more snowflakes will be visible in your pictures of falling snow. (In the foreground as well as further away)
A wide angle lens focal length will include more of the overall scene in your image, but heavier snowfall might be needed to show lots of in focus snowflakes. Generally, fewer snowflakes will be visible in your image when a wide angle lens is used.
So, when it comes to taking pictures of falling snow, it is a good idea to use a camera with a zoom lens. That way, you can zoom in and out to try and get the effect you want when photographing falling snow. That will reduce the possibility of getting moisture inside the camera when you are changing the lens. (of course you don't have to worry about changing the lens with a compact/point and shoot camera or cell phone camera since they have built in lenses with zoom capabilities)
Outdoor Conditions and the Look of Your Snow Scene Images: The outdoor conditions and the amount of available light will affect the look or mood of your winter scene images. You can't change the weather, but it is good to have a general idea of what your winter scene pictures will look like under certain weather conditions.
Pictures of snow scenes taken when it is very cloudy or while it is snowing will have a cool, low key tone. For instance, take a look at snow scene image #7. It was taken while it was still snowing. (but you can't see much snow falling since it was taken with a relatively wide angle lens) You might even think it was a black and white image.
Pictures of snow scenes taken when it is very cloudy or while it is snowing will have a cool, low key tone. For instance, take a look at snow scene image #7. It was taken while it was still snowing. (but you can't see much snow falling since it was taken with a relatively wide angle lens) You might even think it was a black and white image.
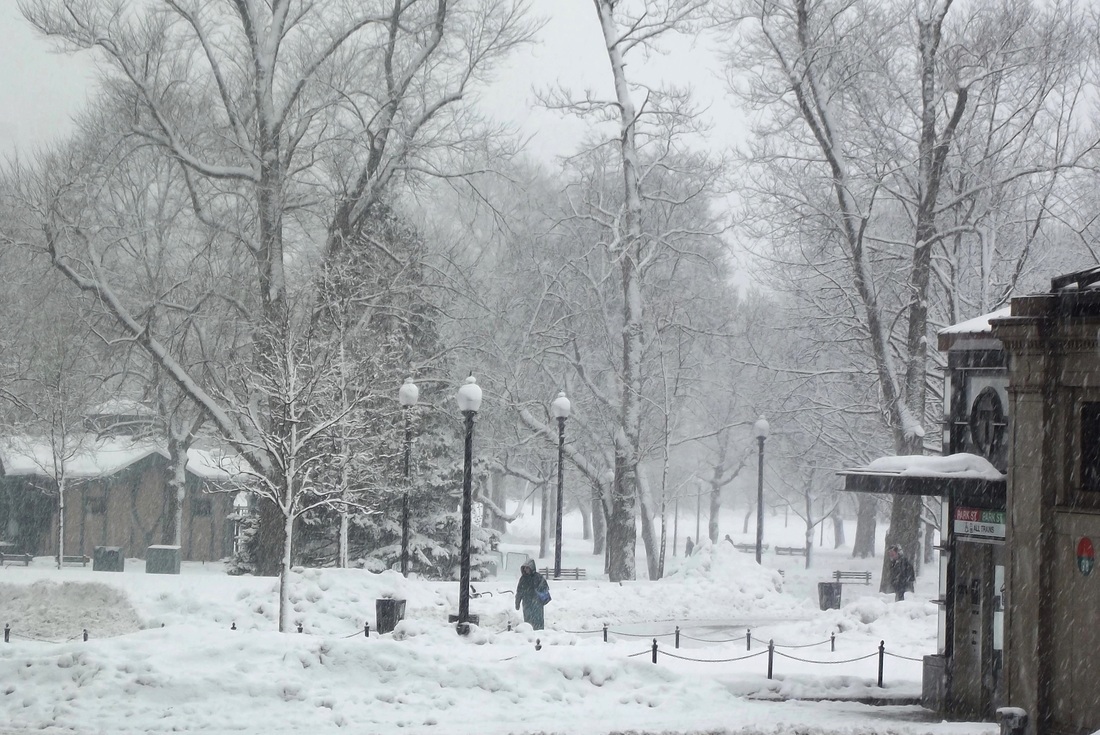
Snow Scene Image #7. Cloudy conditions while snowing
|
Snow Scene Image #8. Taken under clearer skies
|
Now take a look at snow scene image #7. It was taken a day after a major snow fall. It looks brighter and warmer because of the partly sunny conditions that it was taken under. Both of the images shown above are realistic snow scenes. There is nothing wrong with either picture. The main difference between them is the type of outdoor conditions that were present when they were taken.
Composing Winter Snow Scenes: Most of us don't live in a place where we can just walk out the front door and begin taking pictures of snow capped mountains. So we have to look around in our own local towns and cities for snow scene subjects that may be interesting to photograph.
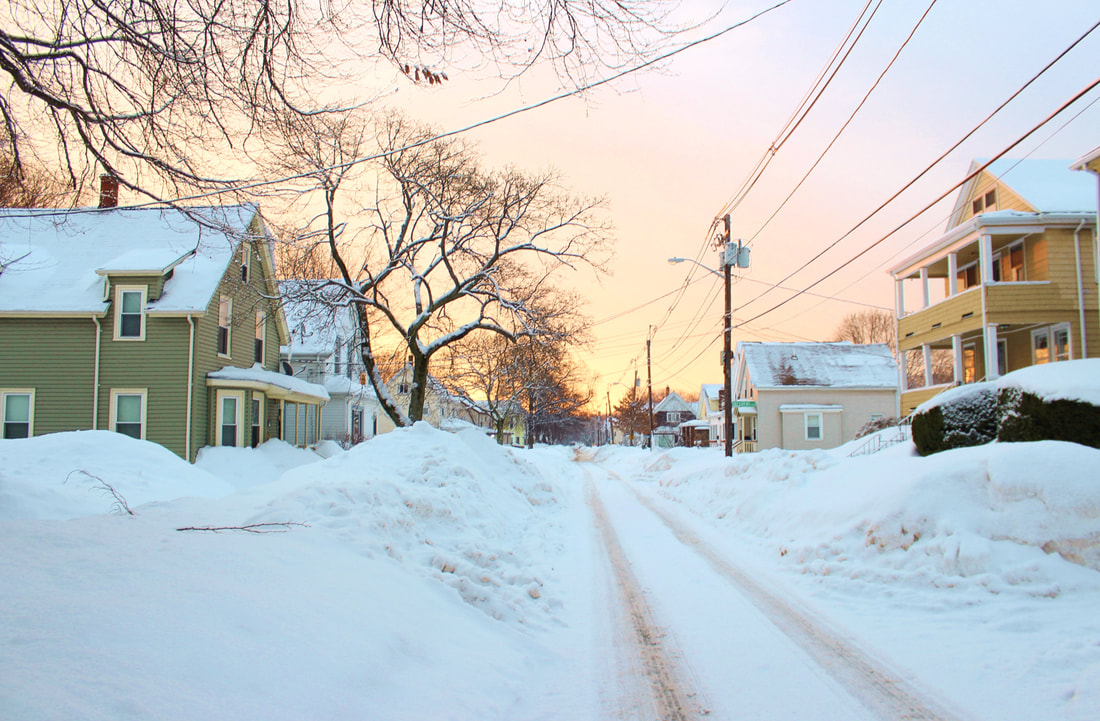
Including objects such as trees, houses, or people in your photographs of snow scenes can make your pictures more interesting. A clear blue sky or a sunrise/sunset sky that contrasts against the snow on the ground will also add a pleasing color element to the picture. See image #9 which was taken shortly after sunrise. For a few more tips on composing pictures, check the Photo Composition tutorial.
Composing Winter Snow Scenes: Most of us don't live in a place where we can just walk out the front door and begin taking pictures of snow capped mountains. So we have to look around in our own local towns and cities for snow scene subjects that may be interesting to photograph.
Including objects such as trees, houses, or people in your photographs of snow scenes can make your pictures more interesting. A clear blue sky or a sunrise/sunset sky that contrasts against the snow on the ground will also add a pleasing color element to the picture. See image #9 which was taken shortly after sunrise. For a few more tips on composing pictures, check the Photo Composition tutorial.
Winter Scene Image #9
|
Winter Scene Image #10
|
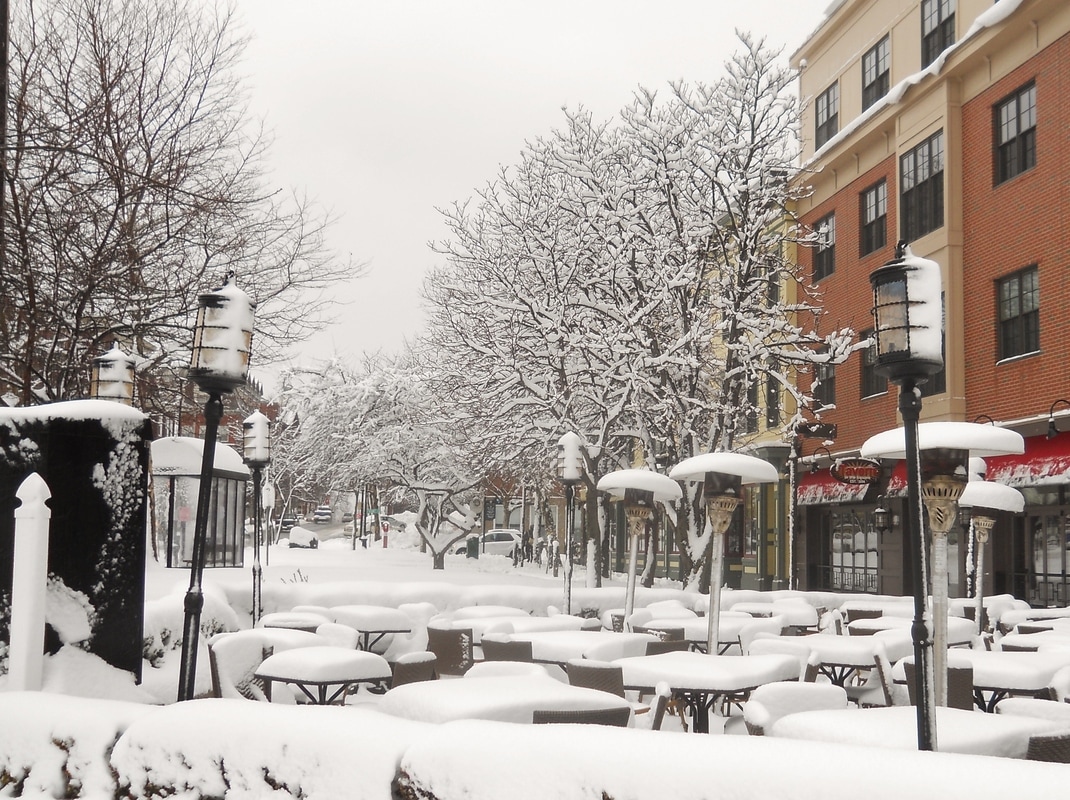
Snow scene images don't have to be a landscape type shot. Image #10 was taken in the downtown area of a small town. It's anybody's guess why the restaurant owner still had tables and chairs outside in the middle of winter. No matter, it lends itself to a different type of snow photography shot. So, don't be afraid to be creative as far as the type of subjects you use for your snow photography.
Also, pictures taken of snow scenes an hour or so before sunset or within an hour after sunrise on a clear day will have a very different color tone than those taken at mid day. The rising or setting sun will add a warm tone to your snow scene pictures and perhaps cast long shadows that can also make your images more interesting.
Keep your equipment protected: Try to avoid getting your camera or camera lens wet. Moisture that gets inside the camera can cause problems. Also, if you get moisture from snow on the the camera lens, it may show in your images. Carry a dry absorbent piece of lint free cloth to wipe the moisture from the lens when needed.
Check with your local camera store to see what products they have that will protect your camera when it is snowing or raining.
Very cold temperatures will cause your batteries to drain faster. Make sure you bring extras and keep them in a pocket so that your body heat will keep then from draining too fast.
If you are a photographer who knows that you will be taking lots of outdoor pictures under not so ideal conditions, you might want to consider a rugged outdoor camera like the Olympus TG6 or the Nikon CoolpixW300
These cameras are designed for outdoor use and are waterproof, shock proof, and freeze proof. (to certain degrees of course, but they will perform under conditions which would cause other cameras to just stop working)
In closing, winter snow scenes photography is not difficult at all. Just be careful not to underexpose too many of your images and look out for color casts in you images.
Grab your camera, have fun, and give it a shot.