Night Photography-Taking Night Shots
Night photography is not as difficult as many casual photographers might imagine. It only requires a little knowledge about camera exposure values, and a camera with semi-automatic and/or manual modes which allow you to control the camera's exposure settings when taking night pictures.
Best Type Cameras for Night Photography: Digital SLR Cameras, Compact System Cameras, or any camera that allows you to control exposure settings are the best choice for taking night shots.
The Canon T7i Digital Slr camera and the Sony Alpha a6100 Compact System camera are good examples of cameras that will work well for night photography. Please note that many of todays smartphone cameras now have manual and semi-automatic exposure settings that can be used for night photography.
The Canon T7i Digital Slr camera and the Sony Alpha a6100 Compact System camera are good examples of cameras that will work well for night photography. Please note that many of todays smartphone cameras now have manual and semi-automatic exposure settings that can be used for night photography.
If your camera doesn't have manual or semi-automatic settings, look to see if there is a Night Mode or Night Landscape setting in the menu. The night mode will keep the camera shutter open longer than it would for an ordinary daytime shot. Keeping the shutter open longer allows more light to reach the camera image sensor which records the light in a scene.
**********************************************************************************
Check the large variety of Digital Slr and Compact System Cameras now available at Amazon,com
**********************************************************************************
Exposure Settings for Night Photography: There is no single correct camera exposure setting for night photography. However, it is important to remember that the camera shutter could be open for seconds instead of fractions of a second. So you will need to use a tripod in most situations to avoid getting blurred images due to camera shake.
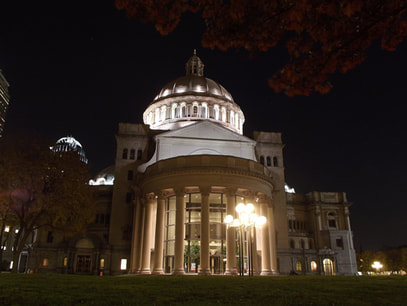
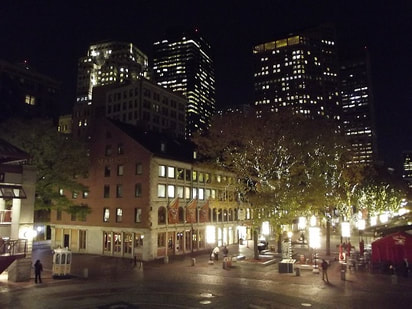
As a point of reference, the camera exposure values (lens aperture settings and shutter speeds) that were used for the images on this page are listed right below each picture. The ISO settings for all of the night shots on this page was ISO 100 except for #7, (ISO 800), and #8, (ISO 1600).
Those numbers will give you a rough idea of the night photography settings that might be used for certain types of scenes.
However, always keep in mind that the best camera exposure settings for any particular night scene that you are shooting will be dependent upon the amount, type, and intensity of the light in the scene you are photographing.
Please check the tutorial, Camera Exposure Basics if you are not familiar with changing the camera lens aperture, shutter speed, and ISO settings.
Choosing an ISO Setting: Ideally, it is best to take night pictures using ISO settings between 100 and 400. Using settings higher than ISO 800 in some cameras may produce digital camera noise (tiny spots and speckles) in the image. The noise will be more visible in the darker areas of the image.
However, don't be afraid to use a setting of ISO 800 or higher if necessary. A little noise in an image will rarely ruin a great shot.
**********************************************************************************
Check the large variety of Digital Slr and Compact System Cameras now available at Amazon,com
**********************************************************************************
Exposure Settings for Night Photography: There is no single correct camera exposure setting for night photography. However, it is important to remember that the camera shutter could be open for seconds instead of fractions of a second. So you will need to use a tripod in most situations to avoid getting blurred images due to camera shake.
As a point of reference, the camera exposure values (lens aperture settings and shutter speeds) that were used for the images on this page are listed right below each picture. The ISO settings for all of the night shots on this page was ISO 100 except for #7, (ISO 800), and #8, (ISO 1600).
Those numbers will give you a rough idea of the night photography settings that might be used for certain types of scenes.
However, always keep in mind that the best camera exposure settings for any particular night scene that you are shooting will be dependent upon the amount, type, and intensity of the light in the scene you are photographing.
Please check the tutorial, Camera Exposure Basics if you are not familiar with changing the camera lens aperture, shutter speed, and ISO settings.
Choosing an ISO Setting: Ideally, it is best to take night pictures using ISO settings between 100 and 400. Using settings higher than ISO 800 in some cameras may produce digital camera noise (tiny spots and speckles) in the image. The noise will be more visible in the darker areas of the image.
However, don't be afraid to use a setting of ISO 800 or higher if necessary. A little noise in an image will rarely ruin a great shot.
Night Photography and Light: Just like in daytime photography, the quality of pictures taken at night will be greatly dependent upon the type and amount of light available.
Night photography doesn't have to be done at the darkest time of evening for you to take a great shot. Right after sundown or just before sunrise are good times to start taking night shots because there is will be a touch of ambient light from the sun in the atmosphere.
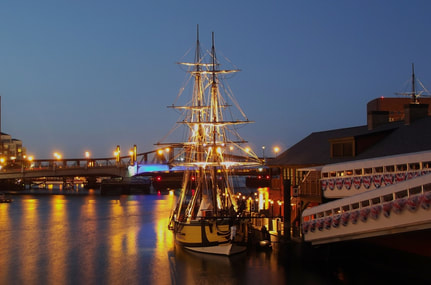
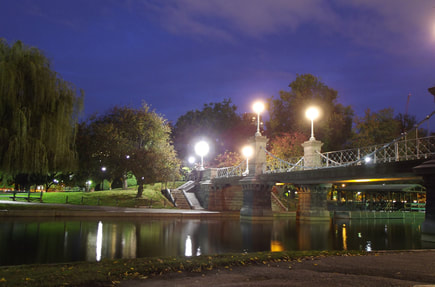
At those times, more detail might be shown in the shadow areas of your pictures. Night shot #3 of the boat and night shot #4 of the footbridge above are good examples of night pictures taken with a little ambient daylight in the night sky.
On the other hand, pictures taken later in the evening can sometimes result in a sky that will be much darker, or even recorded as black. (depending on the available light source and the camera exposure setting used)
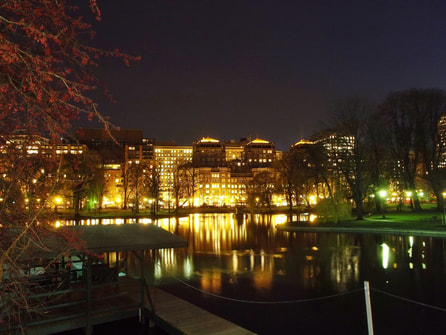 Night Photography Image #5, 8 Seconds F6.4
After sunset or before sunrise, artificial light sources such as street lights, bright signs, window lights, and reflected light will be your main light source. (that is if there is not a bright moon in the sky on a clear night)
When taking pictures at night, strong artificial lighting may cast an overall tint in your pictures.The color cast might be yellowish, greenish or reddish depending on the type of lighting.
Using your cameras' automatic white balance feature might work well in many situations to avoid unnatural tints.
Still, at times, you might have to manually change your camera's white balance setting to tungsten, cloudy, sunset/sunrise, or whatever setting will give the most natural or desired color to the image.
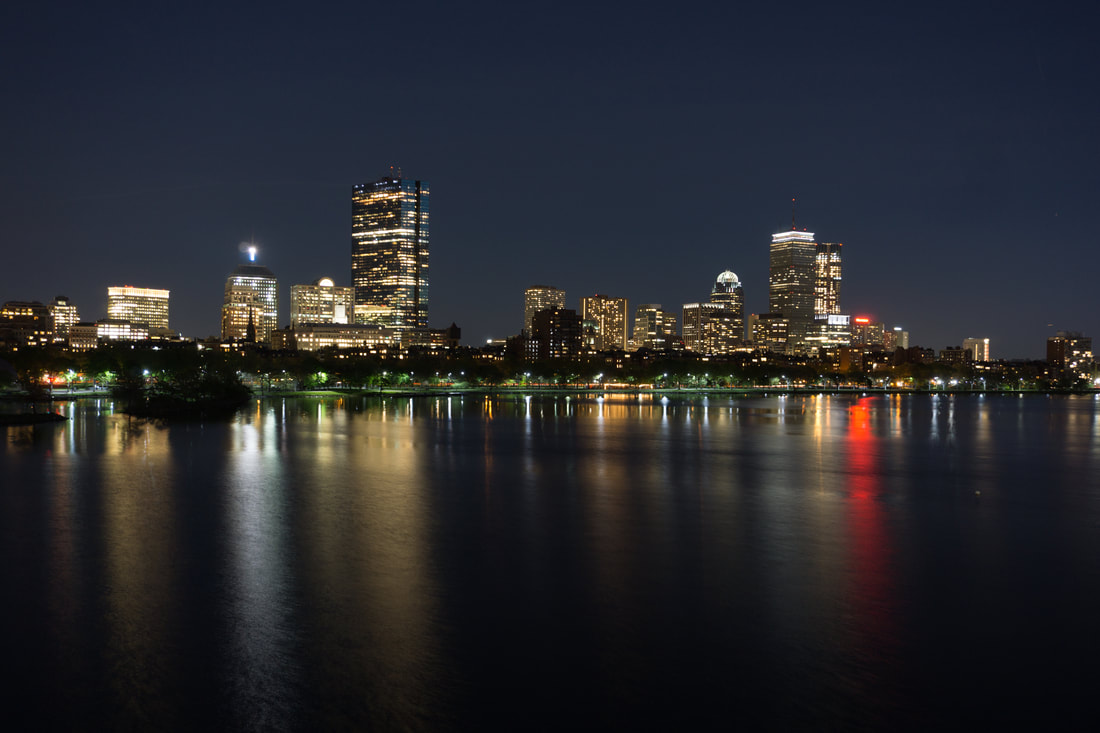
The buildings in night photography image #5 are illuminated by strong tungsten street and window lights which can cause a yellowish tint. The light reflections in the water also have the same yellowish tint.
Quite often though, as in this case, the artificial lighting tints can make the picture more interesting. You might even want to purposely allow different color casts in your night shot if you are feeling creative.
Check the White Balance tutorial for more details on how the white balance feature works in your camera.
The battle between light and dark: One of the biggest challenges when taking pictures at night is trying to balance extremes of light and dark in the same scene. In real life, our eyes are great at properly seeing light and dark areas in a scene.
However, digital camera light meters can be fooled at times. Very bright light, or not enough light in a scene might cause the light meter to suggest a camera exposure setting that will cause the whole scene to be underexposed or overexposed.
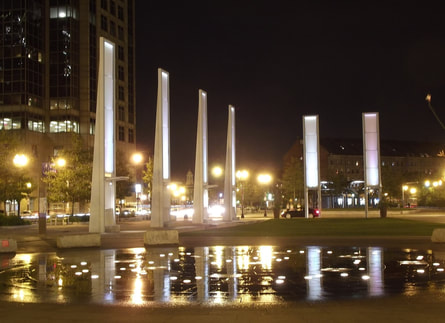
In night pictures #6 and #7, street lamps, window lights, and reflected light are the light sources. The street lamps in both images appear somewhat brighter than if you were at the scene viewing them with your eyes. Also, the taller buildings in the background of night shot #7 are pretty much underexposed.
However, choosing a camera exposure setting that would make the background buildings lighter would have greatly overexposed the street lamps and other areas of the scene near them. On the other hand, choosing an exposure setting that would show the bright street lights dimmer would have caused the entire scene to be underexposed.
Since you can't change the lighting when taking pictures of a night scene, sometimes a little a compromise might be in order. You may have to settle for the fact that certain areas of the image might have to be a little brighter or darker than you might want them to be.
Use a Tripod: You will usually need to use a tripod when you are taking pictures at night. That applies whether you are using a Digital SLR camera or a Compact Digital camera. A tripod is needed because you will be using longer shutter speeds when taking night shots.
When the camera shutter will be open for longer than 1/30th of a second, even the slightest bit of camera movement will result in a blurred picture. So it is a good idea to invest in a basic tripod if you don't already own one.
When the camera shutter will be open for longer than 1/30th of a second, even the slightest bit of camera movement will result in a blurred picture. So it is a good idea to invest in a basic tripod if you don't already own one.
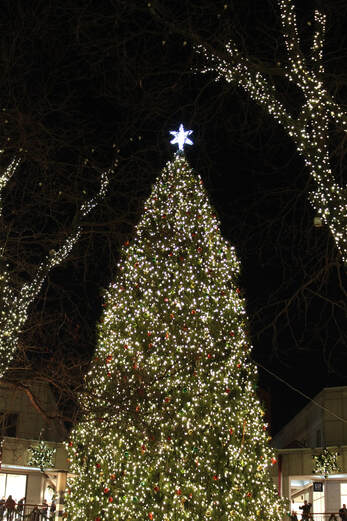 Night Photography Image #8, ISO 1600, 1/8 Second, F4.5 (Hand Held)
There are many inexpensive tripods on the market and the results you get from using a tripod when taking night shots will be more than worth the price you pay for it. The Sunpak 620-020 is a great basic tripod to start with. If you don't want to carry a regular tripod, a mini tripod like the Manfrotto Pixi Mini Tripod might work well for you in many situations.
If you must take a night picture and don't have a tripod with you, try stabilizing the camera by placing it on a steady surface when taking the picture. That will reduce the possibility of camera shake.
It is not impossible to take a decent night shot without a tripod. If you are using a camera lens with image stabilization, and the camera is on a high ISO setting, you might be able to get a hand held night shot.
It would also help if there is some ambient light in the scene. The picture of the Christmas tree in image #8 was taken at 1/8 second, ISO 1600.
Some photographers don't realize that even when the camera is on a tripod, there is a chance that some camera shake may occur when your finger presses the shutter release button. Using the camera's self timer or a remote release will decrease the possibility of that happening.
Now go ahead, take a shot! The best way to get started taking pictures at night is to take a test shot of the night scene. Set your camera to the automatic mode, or try any aperture/shutter combination that you think might work. After taking the shot, check the image on your camera's LCD screen and adjust the exposure settings accordingly.
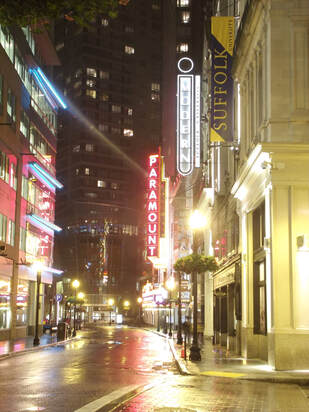
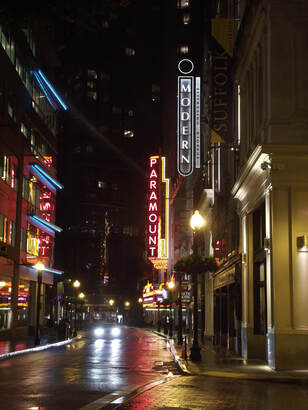
For example, the camera settings that were used for picture #9 created an image in which the light areas were slightly over exposed. An adjustment to the length of time the camera shutter was open was made and the result was a darker image. (picture #10)
The same or similar result (as seen in picture #10) could have been obtained by using a smaller aperture opening like F16 instead of changing the shutter speed. The method of adjusting the exposure settings depends on the photographers preferences.
Bracket your exposures: So, which image is better? Maybe an in between exposure would have been best. It is a matter of personal taste.
That is why it might be a good idea to bracket your exposures when taking night shots. That means taking a couple of lighter pictures, and a couple of pictures darker than the camera's suggested exposure settings. That way you will have a wider range of images to choose from when deciding which is the best shot.
That is why it might be a good idea to bracket your exposures when taking night shots. That means taking a couple of lighter pictures, and a couple of pictures darker than the camera's suggested exposure settings. That way you will have a wider range of images to choose from when deciding which is the best shot.
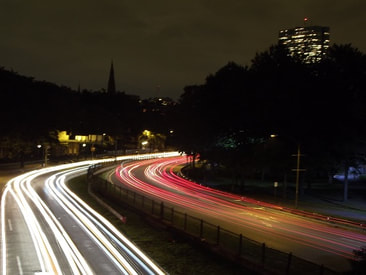
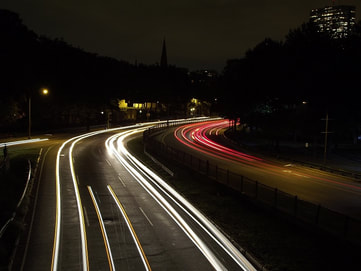
Light and movement in night photography: When using long exposures for night photography, moving objects such as cars will barely be seen in the image if at all. However, the light trails from the headlights and tail lights of the cars will be visible. See picture # 11.
The key to getting solid light trail lines in the picture is to make sure the camera shutter is open when the cars enter the frame and remains open until they leave the frame. If you don't do that, you will still get light trails, but some of them will be broken like picture #12.
The streaking light effect can also be shown when taking pictures of moving objects with lights such as an amusement park ride. See picture #13. The ride was actually moving relatively slow before coming to a stop. That is why all of the lines are not solid. Yet it is still a nice effect.
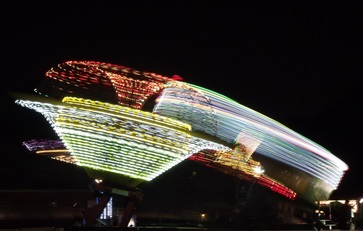 Night Photography Image #13, 2.5 Seconds, F10
Should you use flash? Turn off your flash when taking night pictures. The light produced by the flash won't be strong enough to light a wide outside area.
However, if your subject is a person or object in the very near foreground, using a flash would be useful or necessary to properly light the subject. Many cameras have a night portrait shooting mode that can be used in those situations.
Learning how to take pictures at night will require some practice and might be a little hit and miss at times. On the other hand it will all be worth it when you get those night shots that you can be proud of.
