Tips for Fall Foliage and Autumn Leaves PHotography
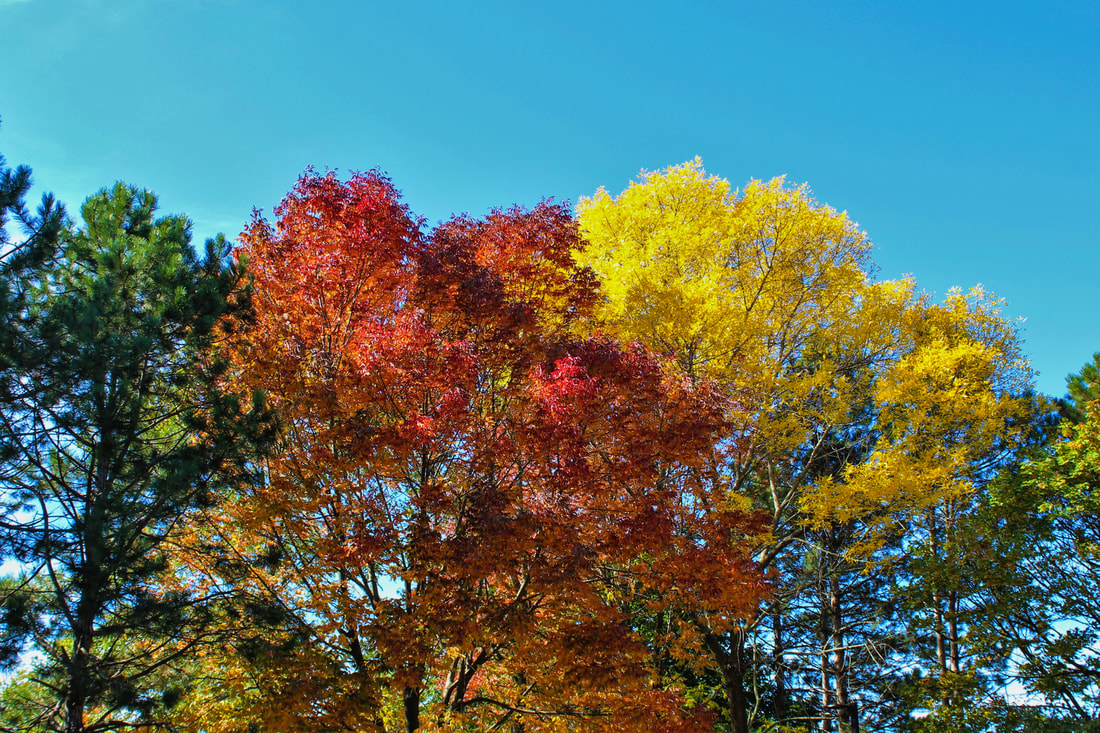
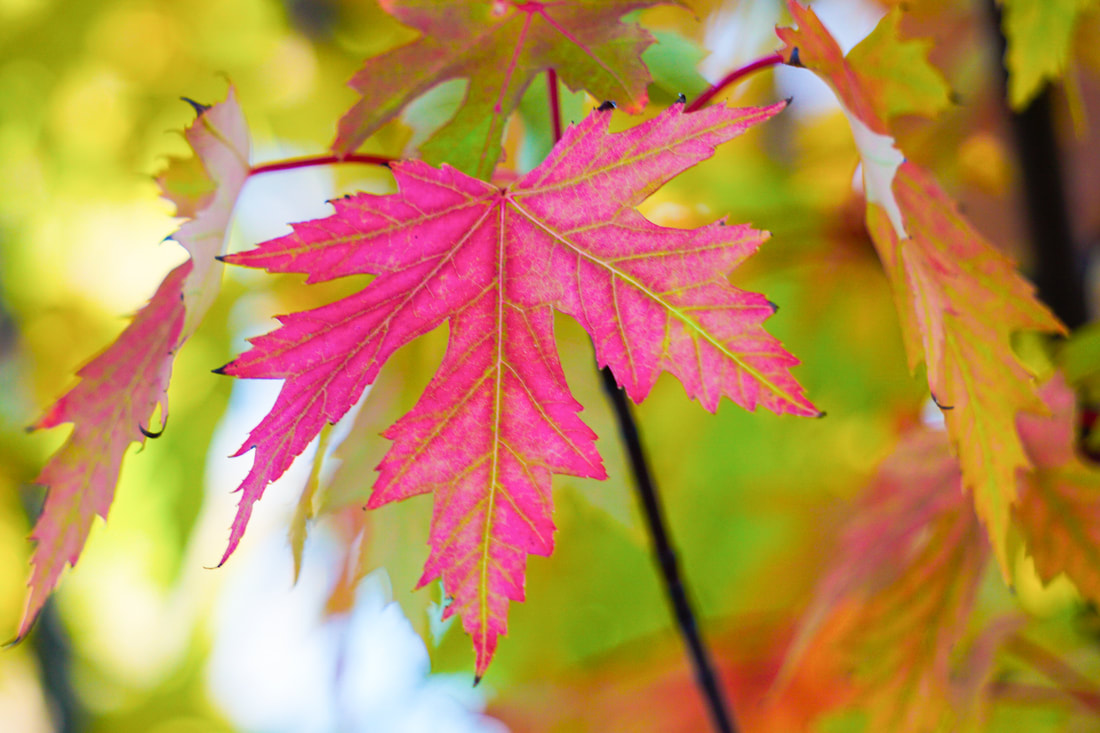
Fall Foliage Image #1
|

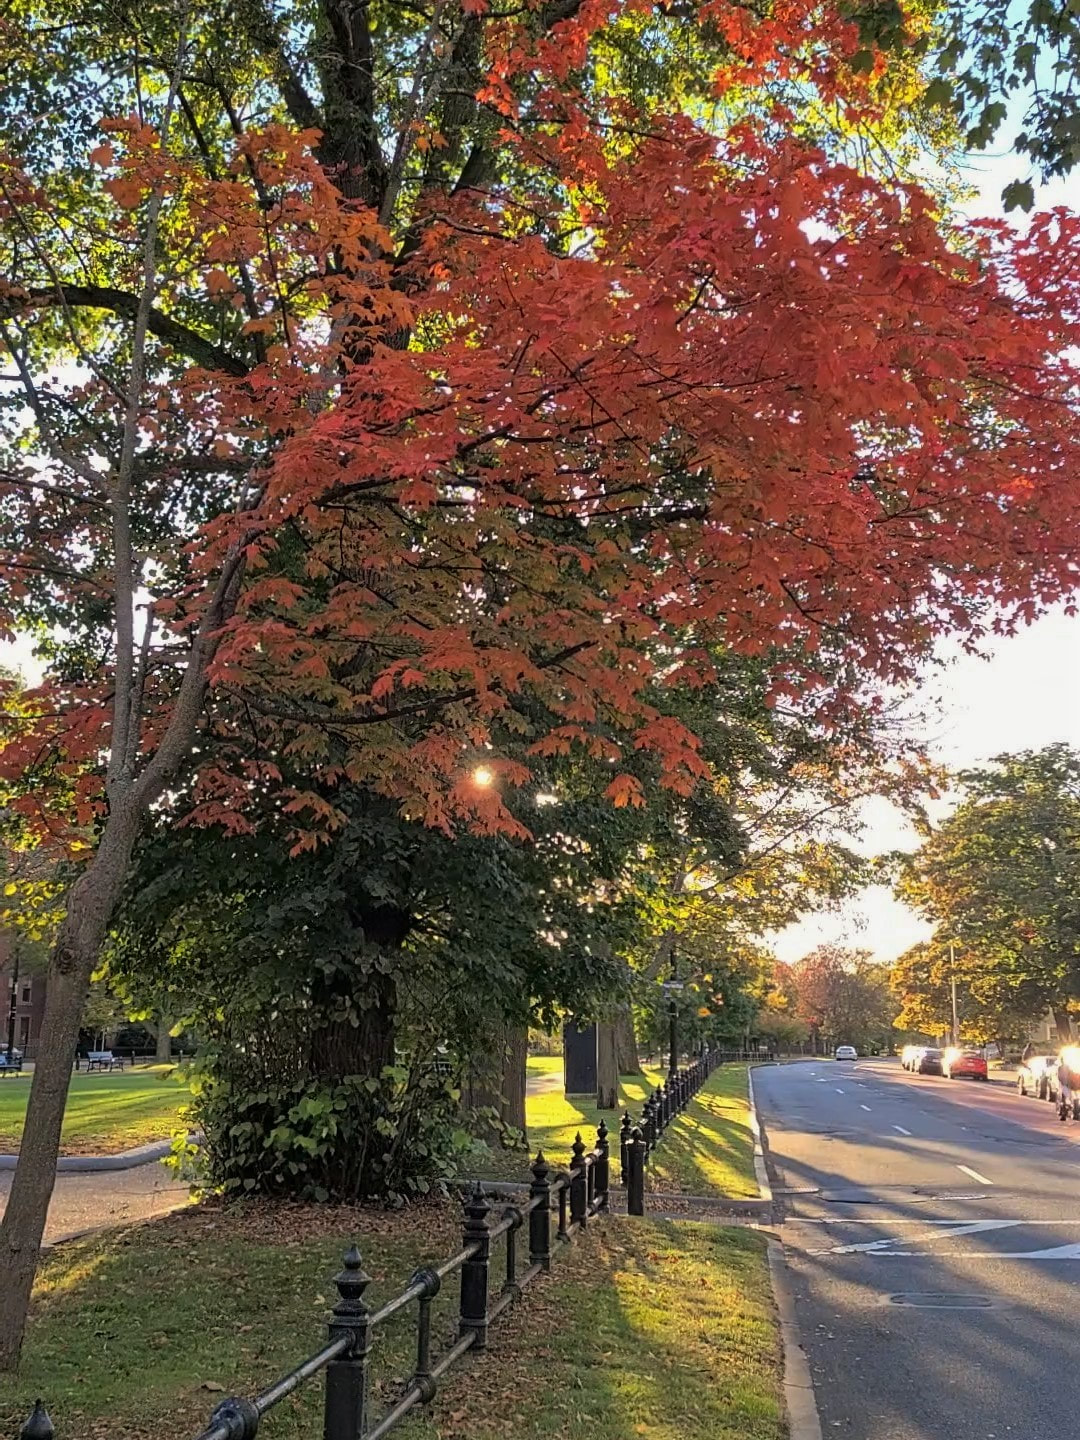
Fall Foliage Image #2
|
The beautiful colors of the autumn leaves makes fall foliage a great photography subject. Once the leaves reach their peak colors, a great shot is just sitting there, waiting to be taken.
All that is required to take nice pictures of fall foliage is a little general knowledge of Camera Exposure Basics and an understanding of the basics of picture composition.
The type of camera you use won't make too much difference. You can get greats shots of the fall foliage with a basic compact camera like the Sony DSCW830 or with a Digital Slr camera like the Nikon D3500. By the way, todays cell phone cameras have improved greatly and will also take very good pictures of fall foliage.
You can go online and find a fall foliage peak color map for your area. It will tell you the time frame that the experts predict the leaves will be near or at peak. Make a plan to take your fall foliage pictures within a week or so of what the prediction is.
The following tips and suggestions may help to change your fall foliage pictures from being just ok to great.
Colorful Plus Interesting: It's easy to get excited when you see a tree that usually has green leaves, now full of bright yellow, orange or red leaves. However, is that enough to make a picture of the tree interesting to others?
Try to think about more than the beautiful colors when composing pictures of the fall foliage. Try including things like a lake, a stream, the sky ,a winding road, or even a house if those things are in the area where you are taking pictures. However, always make sure that the colors of the autumn leaves remains the primary focus point of the scene.

Fall Foliage Image #3
|

Fall Foliage Image #4
|
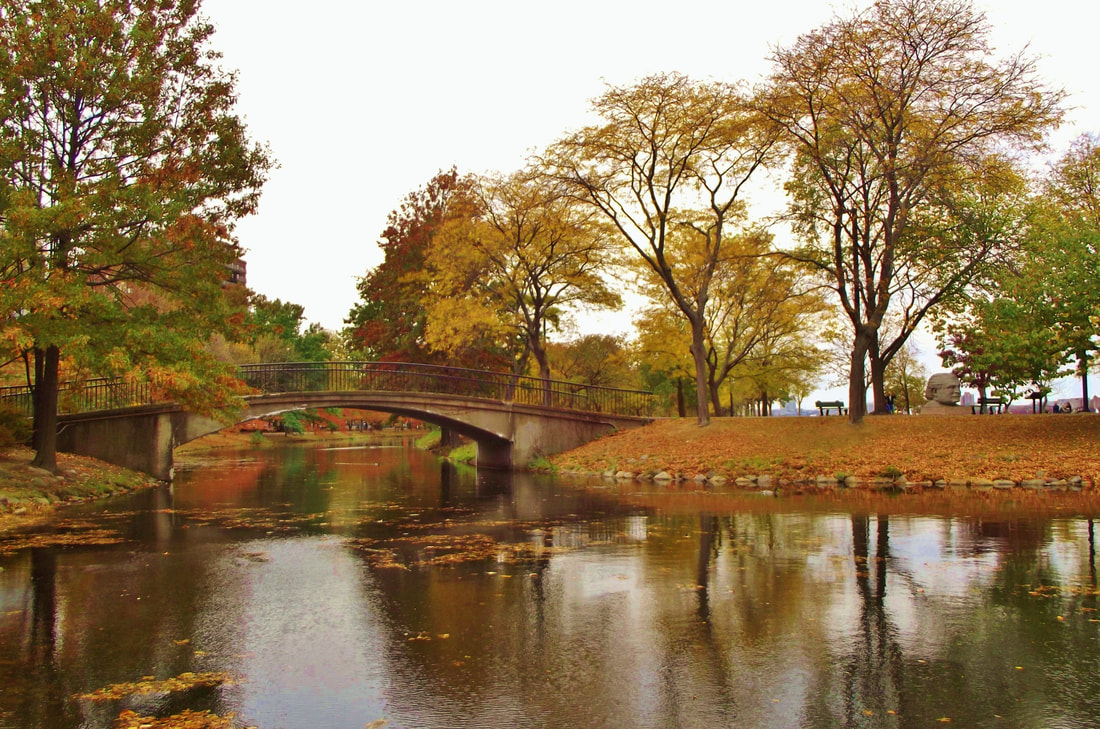
For instance, there is a pretty decent sized portion of the sky included in image #3. (also see pictures #1 and #2) Yet the bright colors of the fall leaves are not overwhelmed by the sky. The reflection of the colors in the water shown in image #3 also adds a little extra zip to the image. Overall, the trees, the sky, and the water go together well, making this a pretty nice fall foliage picture.
Image #4 is a different type of picture composition. Once again, there is water in the scene, but the leaves on the tree limbs are the main focus of the picture. The leaves in the upper half of the picture might seem a little scattered, but the tree limb in the lower portion of the picture creates sort of a flowing line, adding a little balance.
Turn your best Fall Foliage images into wall decor as Canvas Prints! Check out the styles at Amazon.com!
Try taking your pictures of fall foliage from different perspectives. That would involve moving around or zooming your camera lens in or out to see which angles or views work best for you. There are no cut and dry rules you must use for your fall foliage pictures.
Still, you might want to check a few of the basic principles of Picture Composition and see if any of those principles might be useful to you in your fall foliage photography.
Locations for taking pictures of Fall Foliage and Autumn Leaves: You can take nice pictures of fall foliage anywhere there are trees that change colors in the fall. Chances are, there are parks, hiking trails or overlooks within one hour driving distance of where you live.
Even better, you can start looking for colorful fall foliage in your own backyard or in your neighborhood. If you live in a city or town, large or small, rest assured that there are trees that will change colors. You just need to pay attention. There just wont be thousands of acres of them. Yet you can use your creative side to get some nice shots. Take a look at pictures #5 and #6 below.
Fall Foliage Image #5
|

Foliage Image #6
|
Picture #5 was taken in a very small park area in the middle of a small city. The reddish color of the tree clearly conveys the changing of the season, even though the other trees are not at peak. Picture #6 was taken in a downtown area of a larger city with a high rise building in the background. The yellow leaves frame part of the building in the background, yet their bright colors still dominate the scene.
All Trees Don't Change Color at the Same Time: When you are taking pictures of a scene with different types of trees, as you probably have seen, they don't all peak at the same time. Sometimes a scene might have a few trees with bright yellow, red or orange leaves. Yet the surrounding trees may have just about all green leaves.
Do not pass up that opportunity to take fall foliage pictures and think you can come back when all of the tree leaves have changed colors. The fact is that many types of trees never turn colors. Also, if you come back in 2 weeks to see if the colors have started changing, the trees that had the beautiful colors might very well be close to bare.

Fall Foliage Image #7
|

Fall Foliage Image #8
|
Take a look at fall foliage pictures #7 and #8. There are plenty of trees in both pictures that are still green. Some of those trees may change colors and some of them wont. The point here is that the trees with the colorful leaves make a great contrast against the green leaf trees. They both are interesting fall foliage pictures.
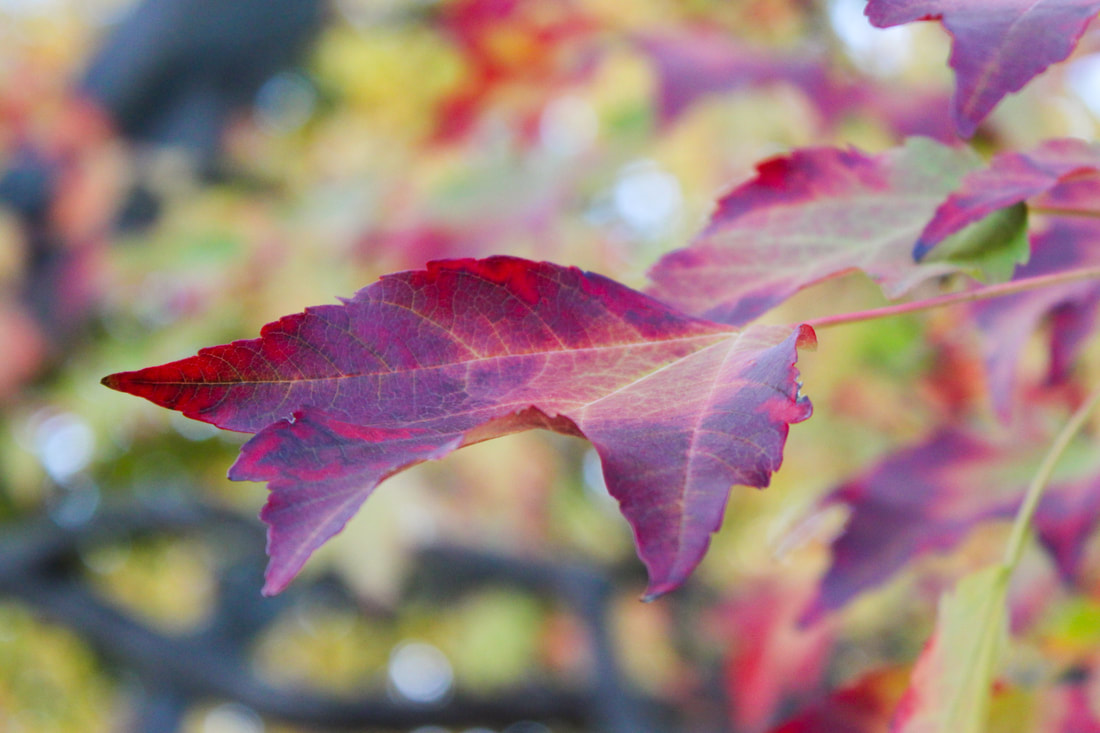
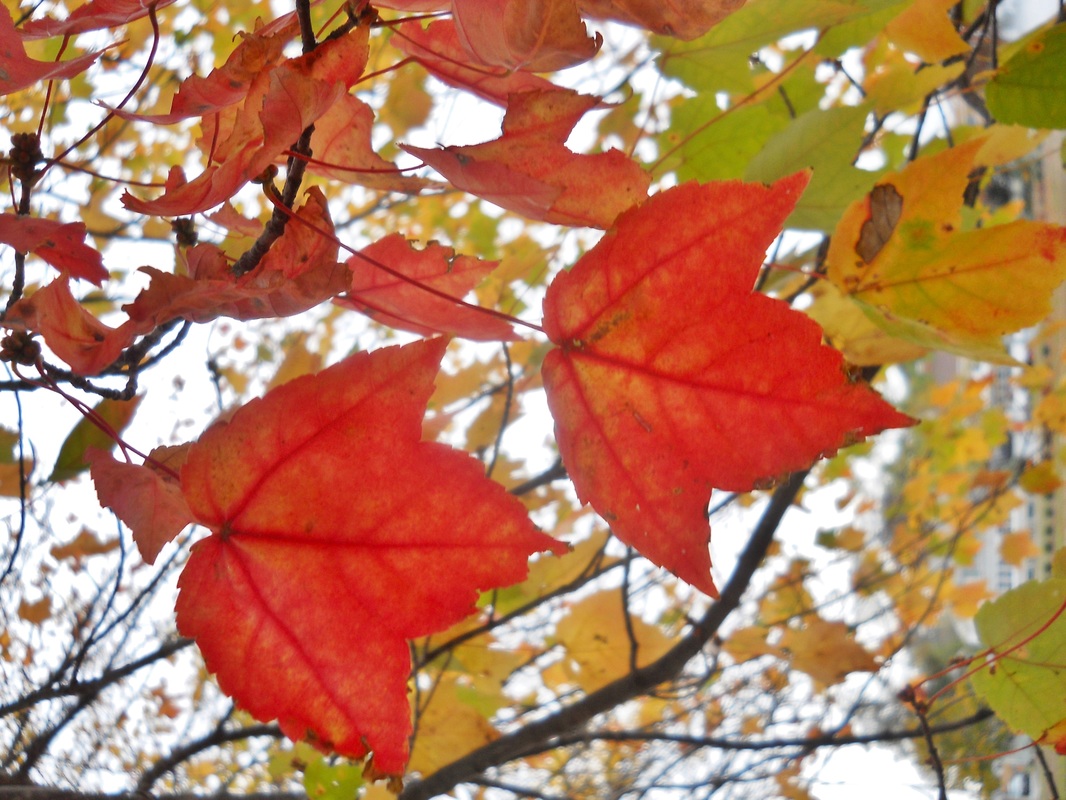
Now, you might be thinking, what if I don't want pictures of a whole scene? What if I only want pictures of a few autumn leaves or just one leaf. No problem.
Get Closer and Look Up: You don't always have to stand at a distance and take landscape type pictures of the fall foliage. Why not just walk up to a tree and start taking close up pictures? That is a great way to get very nice shots of groups of leaves or a single leaf. Getting closer will allow you to show the small details of the leaves in addition to the colors.
Get Closer and Look Up: You don't always have to stand at a distance and take landscape type pictures of the fall foliage. Why not just walk up to a tree and start taking close up pictures? That is a great way to get very nice shots of groups of leaves or a single leaf. Getting closer will allow you to show the small details of the leaves in addition to the colors.
Fall Foliate Image #9
|
Fall Foliage Image #10
|
Fall Foliage Image #11
|
One thing to keep in mind when pointing your camera up to take pictures of leaves on a tree is that because of the light from the sky, the image might be underexposed. (that is from being back lit) So you might have to adjust your camera's exposure setting to get it exactly right. The easiest way to adjust the lightness or darkness of an image is to use the camera's Exposure Compensation EV+ - setting.
.......Why not frame your favorite Fall Foliage pictures? A wide selection of frames is available at Amazon!.......
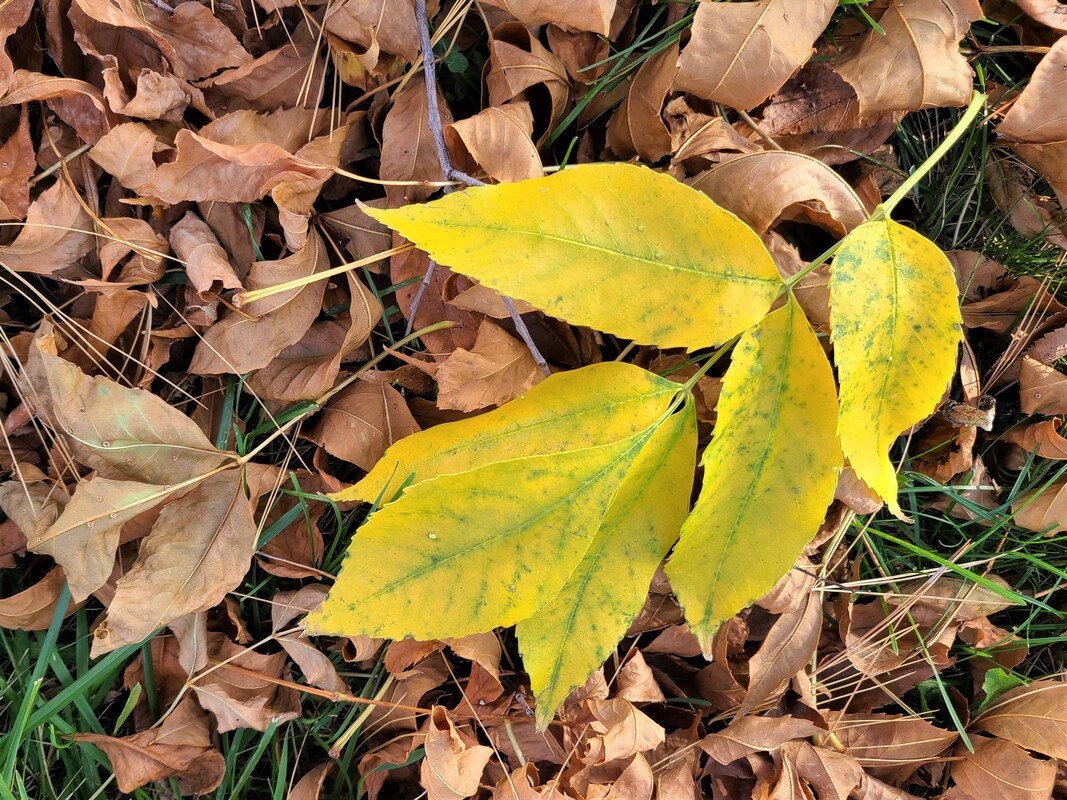
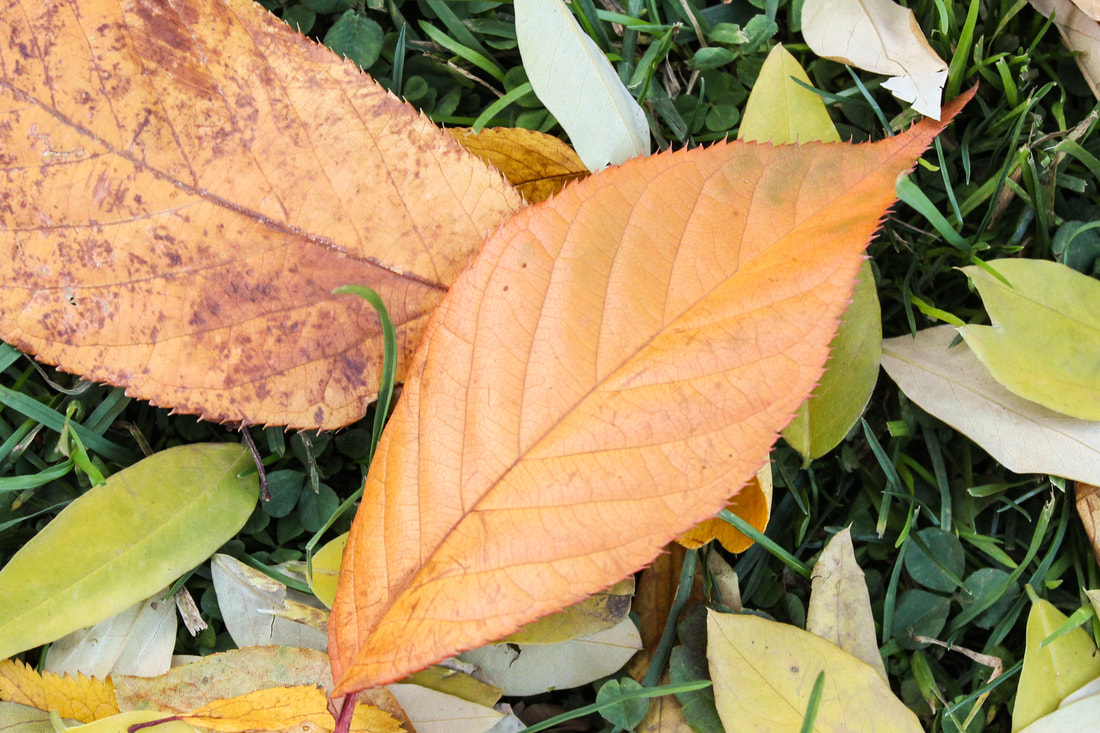
Look Down: Many people get so wrapped up in the beautiful colors of the fall leaves on the trees, they might not pay attention to the leaves that have already fallen to the ground. Leaves on the ground also make nice subjects for fall foliage photography.
.......Why not frame your favorite Fall Foliage pictures? A wide selection of frames is available at Amazon!.......
Look Down: Many people get so wrapped up in the beautiful colors of the fall leaves on the trees, they might not pay attention to the leaves that have already fallen to the ground. Leaves on the ground also make nice subjects for fall foliage photography.
Fall Foliage Image #12
|
Fall Foliage Image #13
|
That is especially true if you see one leaf, or a few fallen leaves that are a totally different color than the ones around them. (as seen in picture #12 and picture #13)
In any case, you should try to compose the picture in an interesting way. And... if you need to pick up a leaf from one place and put it in a different area to make a better picture, who's going to know?
In any case, you should try to compose the picture in an interesting way. And... if you need to pick up a leaf from one place and put it in a different area to make a better picture, who's going to know?
Best Time of Day to Take Fall Foliage Pictures: Truth is, you can take pictures of fall foliage anytime during the day. You just need to have an idea of what the lighting will be like at a particular time of day.
Sunlight is the brightest in the midday hours when the sun is higher in the sky. The problem with that time of day is that the shadows that are cast are very deep and sharp edged. Depending on your subject and the angle of the light, your pictures may come out just fine. However, you will just have to check your camera's LCD screen to see if you are getting the look in your images that you want.
Many photographer prefer to take their fall foliage pictures during the "Golden Hours". The Golden Hour in the morning is from sunrise to about 1 hour after sunrise. The Golden Hour late in the afternoon is about 1 hour before sunset to the actual sunset.
The reason that many photographers prefer to take their pictures during those times is that the sunlight produces a warm glow in the atmosphere. That glow produces a somewhat warmer tone in your pictures that can be very appealing. Also, the shadows in your pictures taken during the Golden Hour are much softer.
 Fall Foliage Image #14
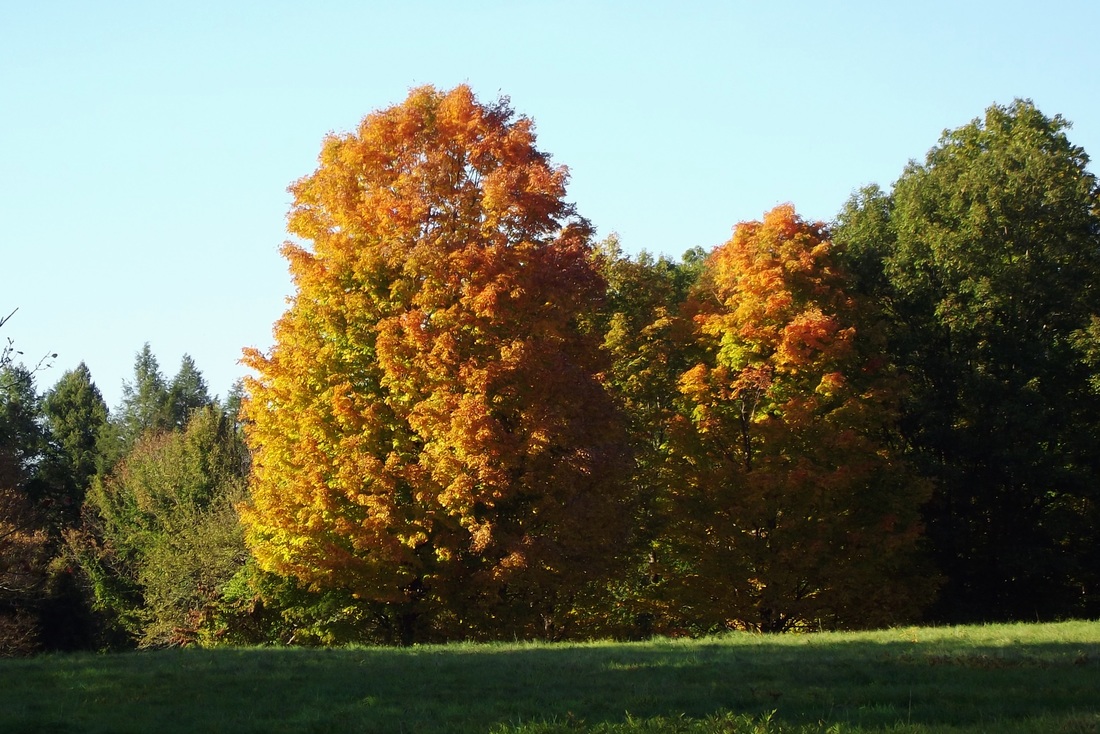
Light and Shadows: A good amount of sunlight may make your fall foliage pictures appear brighter and the color more vivid. However, when you are taking pictures on a sunny day, you should pay attention to direction of the light and where the shadows are falling in the scene.
(Taking pictures on an overcast/cloudy day can be just as, if not more effective, That will be covered in the next section of this article)
Shadows in a scene will show up darker in a picture than we notice with our eyes. Take a look at picture #14. As you can see, the left side and upper portions of the subject trees are pretty well lit by the sun.
However, most of the right side and lower portions of the trees are in shadows.
The image is not a disaster, but it probably would look better if the lighting was a little more even throughout the picture.
In this case, one solution would be to move to a position where the sun is behind you. From that position, the trees would probably be more evenly lit.
You won't always be able to move to an ideal position for lighting when taking fall foliage pictures on a clear sunny day. However, you can make a mental note of the time of day that you think the sun would be in the best position to produce the light you want for the scene. If possible, go back to take your pictures at that time.
While it is impossible to avoid all shadows when taking pictures outdoors, try to make sure that the main area of interest in your picture is lit well enough for your taste.
Cloudy, Overcast Days: You may think that cloudy days would not be good days for taking pictures of fall foliage, but that is not really true.
On cloudy/overcast days the overall lighting is very even. That practically eliminates the need to worry about shadows or areas where the contrast is too high in your pictures.
The colors in your cloudy day pictures of fall foliage will show just fine. The overall image might appear a little more subdued than a picture taken on a bright sunny day, but the colors and tones will be seen clearly.
Fall Foliage Image #15
|
Fall Foliage Image #16
|
Take a look at picture #15. It was taken on a very overcast day, but it is obvious that the picture was taken in the fall when the colors of the autumn leaves were changing. The same applies to fall foliage image #16.
One last thing to remember about taking pictures of fall foliage is to try and take your pictures when the colors are around peak and before too many of the leaves begin to fall off the trees. Picture #15 still shows much of the fall foliage color, but a week after this picture was taken, some of those trees were practically bare.
Adjusting the Color in your Fall Foliage Images: Depending on which camera you are using, the colors in the scene might not record as bright and colorful as you like. Check your camera and see if you have a setting like "vivid color" or something similar. That setting will produce deeper richer colors in your images.
Another way to enhance the colors in your pictures is to use a photo editing program like Adobe Lightroom or Corel Paint Shop Pro after taking your pictures.
Camera Exposure Settings for Taking Pictures of Fall Foliage: You may have noticed that many websites don't mention that it is possible to get great shots using your camera's automatic or a semi automatic mode. Yet it is quite possible. Just take a test shot of the scene you want to photograph.
Then take a look on your camera's LCD screen. If it is too dark or too light, every camera has an Exposure Compensation, EV+- feature. Use that feature to make the next pictures you take lighter or darker.
The following tips are for camera enthusiasts who may prefer to use manual or semi automatic settings.
There are no pre set exposure values for taking pictures of fall foliage. The exposure values will vary greatly depending on the time of day and the available light. Most fall foliage pictures will be taken during the day, usually with adequate available light.

Fall Foliage Image #17. ISO 100, F10, 1/200 second
|
Fall Foliage Image #18. ISO 200, F5.6, 1/180 second
|
The shutter speed, ISO, and aperture settings are listed under the images in this section just in case you want to get a starting point for those type scenes.
It is important that you make sure your shutter speed is 1/60 second or above to avoid blur due to camera shake when the camera is hand held. (Even higher if there is wind that causes the trees to sway or a breeze that makes individual leaves sway)
For ISO settings, start out using ISO 100 to make sure you don't get any grain or "noise" in your images. If the light in the scene calls for you to use higher ISO setting, then use it. Just don't automatically go to an extreme ISO setting like ISO 1000 or more.
As far as camera aperture settings, F Stop settings like F8, F11 and higher will help in making more of the scene show as in focus. That is called Deep Depth of Field. (but for scenes that you shoot from a distance, even F Stops like F5.6 or less can produce a wide area that is in focus )
If you want to isolate a subject such as a few leaves being in focus and the rest of the image being out of focus, an F Stop in the area of around F5.6 or less might work. Take a look at picture #18 above. It has shallow depth of field. Just know that there are also other factors that contribute to producing a picture with shallow depth of field. Those include the subject to background distance and a longer focal length. For more details about this subject, visit The Camera Lens Aperture
The preceding statements might seem vague, but that is because each situation can be different.
Should You Use a Tripod for Fall Foliage Photography? Taking pictures of Fall Foliage during most of the daylight hours will not require you to use a tripod. However, if you decide to take your pictures around the earliest part of the previously mentioned morning "Golden Hour" or the later part of the afternoon "Golden Hour" , the camera might suggest a shutter speed of less than 1/60 second.
When the ideal shutter speed might be 1/60 or less, you should probably use a tripod along with a remote shutter release or the camera's self timer. There are numerous tripods to choose from on Amazon.com like the Ubeesize 67" Camera Tripod with Travel Bag.
When the ideal shutter speed might be 1/60 or less, you should probably use a tripod along with a remote shutter release or the camera's self timer. There are numerous tripods to choose from on Amazon.com like the Ubeesize 67" Camera Tripod with Travel Bag.
Hopefully this information will be useful when you are out taking pictures of fall foliage. Taking pictures of fall foliage is not complicated. Just take a second to look and think before you press the shutter release button. If you do that, you will probably go home with some fall foliage shots you can be proud of.