Black and White Photography
Black and white photography is all about taking pictures that do not depend on color to make them interesting. Instead, you have black, white, and various shades and tones of gray in between to work with. Your camera exposure settings and the way you use available light will be basically the same for black and white as when you are taking color pictures.
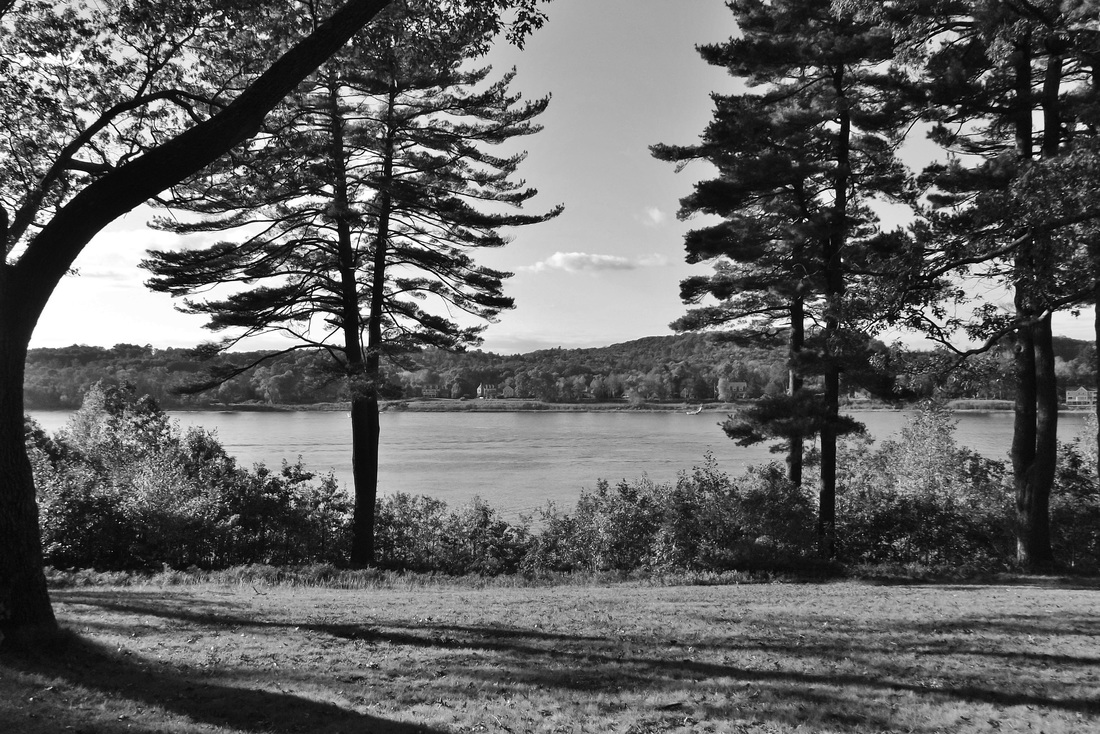
Black and White Nature Image
|

Black and White Image with Leading Lines
|
The elements that make a color photo interesting (excluding the color) will also work for a black and white photo. Those elements can include the composition of the image, shapes, leading lines, patterns and texture. (check the Basic Picture Composition tutorial for more on this.)
Black and white photography is not some complicated art form that is reserved for professionals with professional equipment. In fact you can take some pretty good black and white photos with a basic compact camera like the Nikon Coolpix W100. If you prefer using a Digital SLR camera, the Canon EOS Rebel T7i or the Nikon D3500 among many others will work just fine.
This tutorial will cover a few of the differences in the results you get and things to look for when shooting for black and white instead of color.
Once you begin to shoot black and white images, you will need to learn how to visualize in your mind what a scene or subject will look like without color. That is because every picture taken in color will not always look as good in black and white. On the other hand, some scenes or subjects might look better in black and white than in color.
You can always just check the image on your camera's LCD screen after taking the picture. However after some practice, you will eventually be able to look at a scene and have a pretty good idea as to whether it will look good in black and white.
When contemplating what a subject will look like in black and white, an understanding of tonal range and contrast can help you make better decisions that will hopefully lead to more effective black and white photographs.
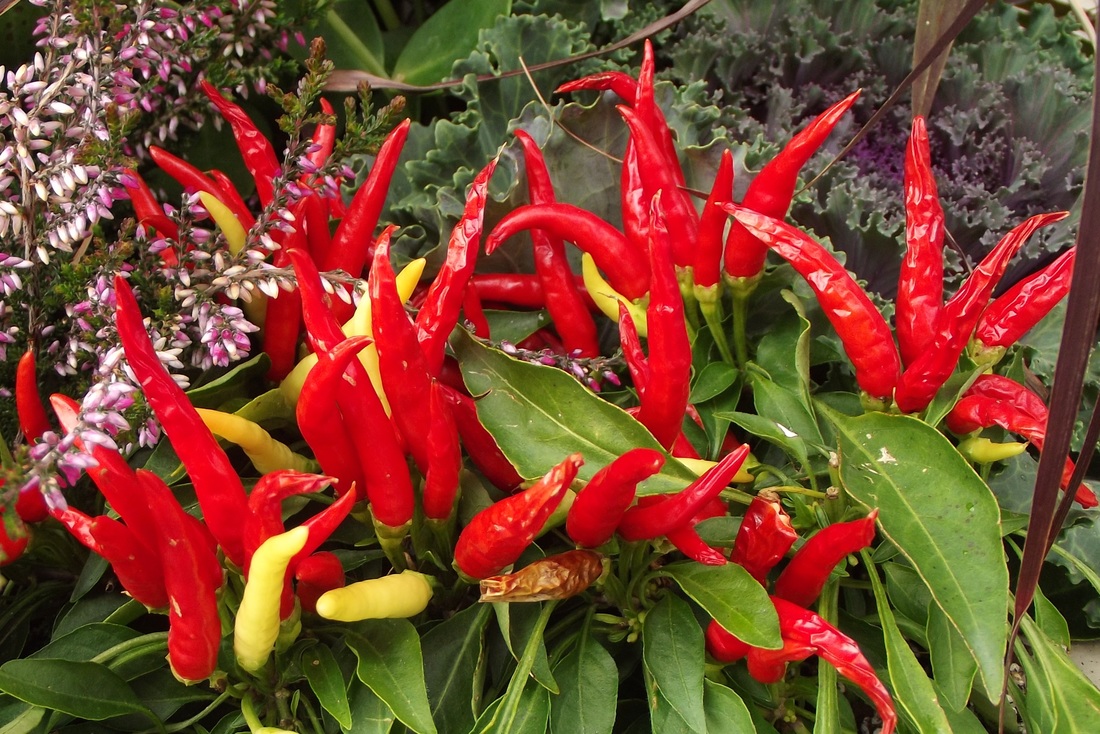
Image #1
|
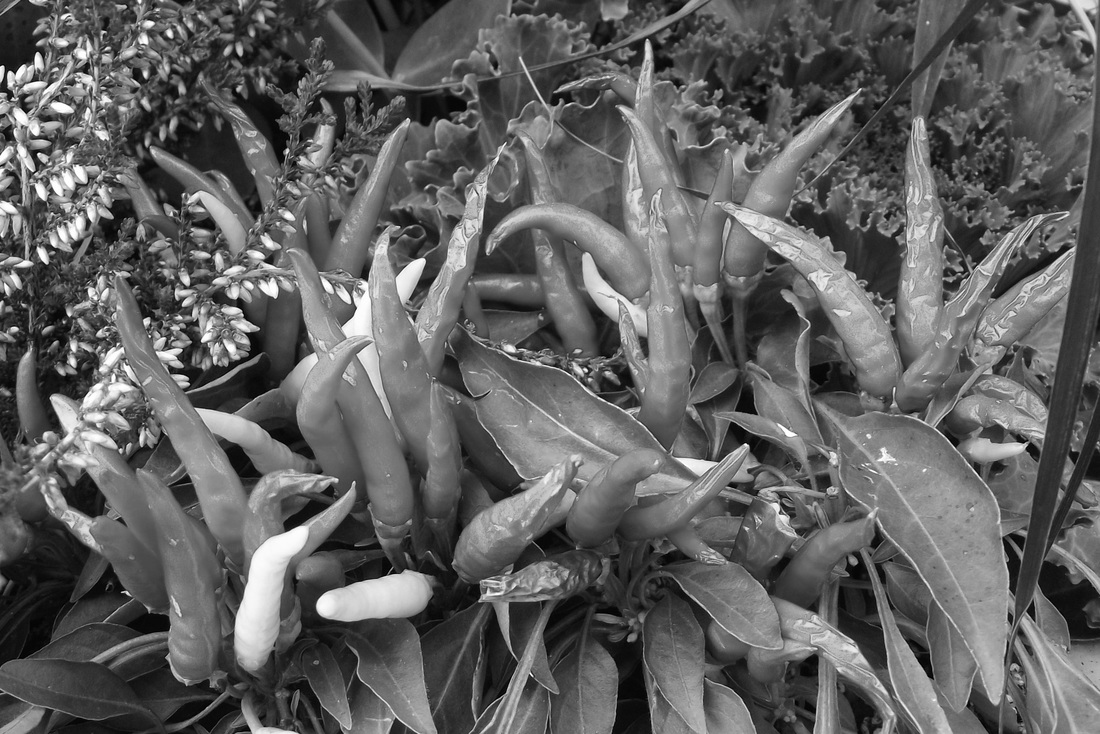
Image 2
|
Tones and Tonal Range: Black and white images consist of tones and shades rather than color. A tonal range refers to the tones of the darkest to the lightest areas in an image. An image that has a good amount of light areas as well as dark areas is said to have a wide tonal range. An image that has a limited amount of similar tones has a narrow tonal range.
Take a look at image #1. It is obvious that the bright red of the peppers and the green from the leaves are the dominant colors in the image. However, when those same peppers and leaves are viewed in black and white, as in image #2, they look as if they are close to the same color.That is because the red and the green colors have similar tones.
You can also see that the yellow colored peppers in the image stand out more than the red peppers when viewed in black and white. The yellow peppers stand out more in the picture because they have a much lighter tone. The lighter tone next to the darker tones produces more contrast in the picture.
Higher visible contrast may be necessary in some black and white images. So be aware that subjects with similar tones might not stand out enough to make an individual impact, due to a lack of contrast.
(Many photo editing programs have filters that will make the tone of specific colors stand out more when viewed in a black and white image. You might also have filters in the photo viewing app that came with your computer.)
If adjusting the exposure and color tones in your color or black and white images is something you are interested in, Adobe Photoshop Lightroom might be a great tool for you.
Tonal Contrast: Contrast in black and white photography refers to the difference between the light and dark tones or shades in an image. When viewing photos in color, our eyes are able to easily separate the contrasting colors even if the tonal range is narrow. (as you can see from image #1 above)
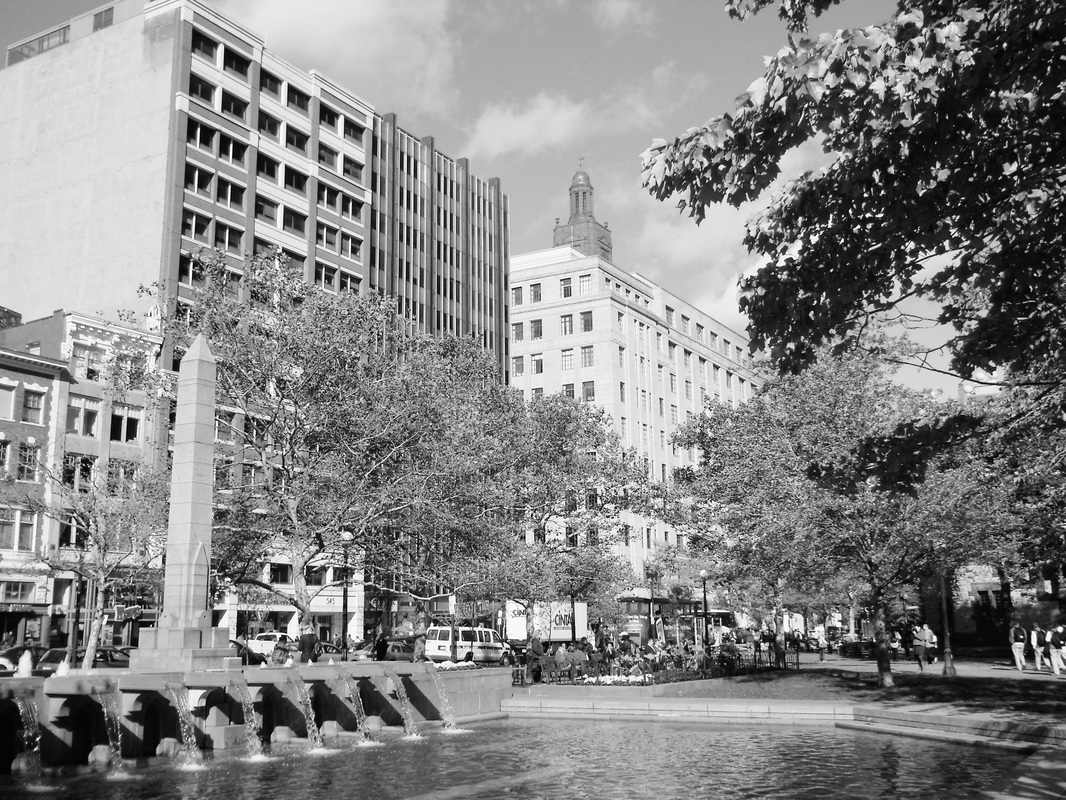
Normal Contrast Black and White Image
|
High Contrast Black and White Image
|

Low Contrast Black and White Image
|
In black and white photography, tonal contrast becomes even more important because we need it to clearly identify shapes, lines, and texture. Black and white photos can be classified under 3 general categories. They are Normal Contrast, High Contrast, and Low Contrast.
Normal contrast images will have dark areas, light areas, and lots of mid tone grays mixed in. High contrast black and white images will consist of mostly very dark and very light areas. Low contrast images will have shades that are mostly in a somewhat narrow tonal range.
The type of contrast in a scene can affect the overall look of your image. (and maybe even create a mood). For instance, a low contrast photo evokes a more quiet, subdued type look. High contrast black and white images have a bolder look and appear to bring out more detail.
While you won't usually be able to change the overall look of a scene or subject, your knowledge of tones and contrast can give you a "heads up" about what you have to work with. You can then use your creativity and photography skills to take the best shot possible.
Subjects for Black & White Photography: There are no rules that say any particular subject should be photographed in black and white. Any subject is fair game. That will include the usual subjects like people, landscapes, flowers, architecture, etc. Use your vision and judgement along with your knowledge of contrast and tonal range to determine what would be good subjects for you to photograph.

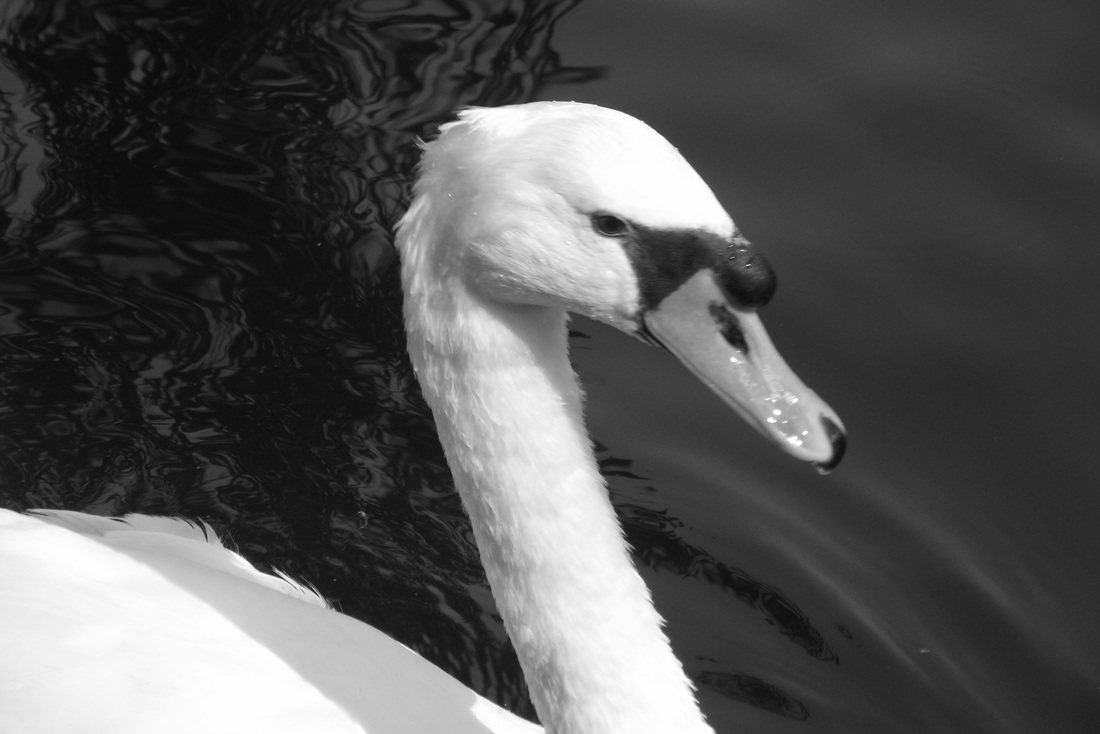
Black and White Portrait
|
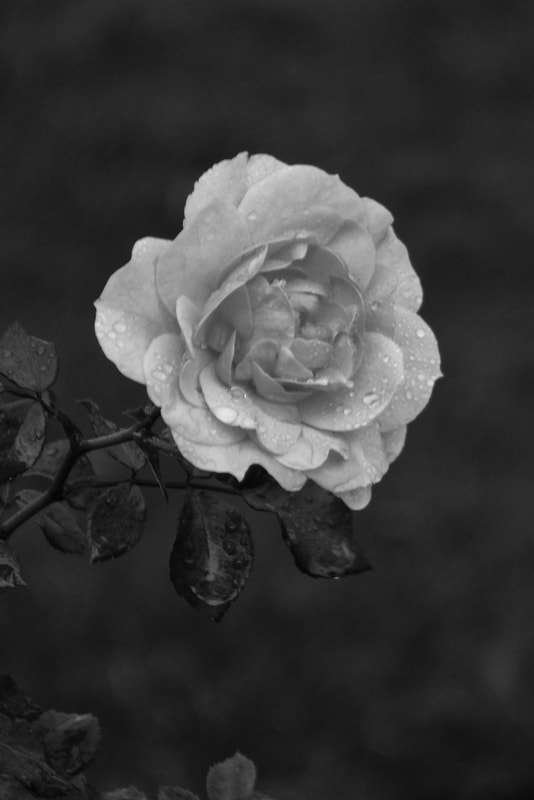
Black and White Image of a Pink Flower
|
Portraits in black and white that don't have the distraction of color causes the viewer to focus more on the subject and things like things like facial expressions, skin tones and texture. This gentleman shown in the above left image grew up in an era when all pictures were black and white. So it seemed appropriate to convert his color portrait to black and white. However, portraits of younger people and children in black and white will also have their own distinctive look.
The flower shown above is a pinkish rose and the background is green grass. Even in black and white, this is a very nice image of the flower due to its light color against a darker background. Remember, when taking pictures in black and white, flowers and backgrounds that have the same tone as each other (like red and green) will tend to blend and the picture might not come out that great. Sometimes with flowers, it is better to go with color to get the full effect.
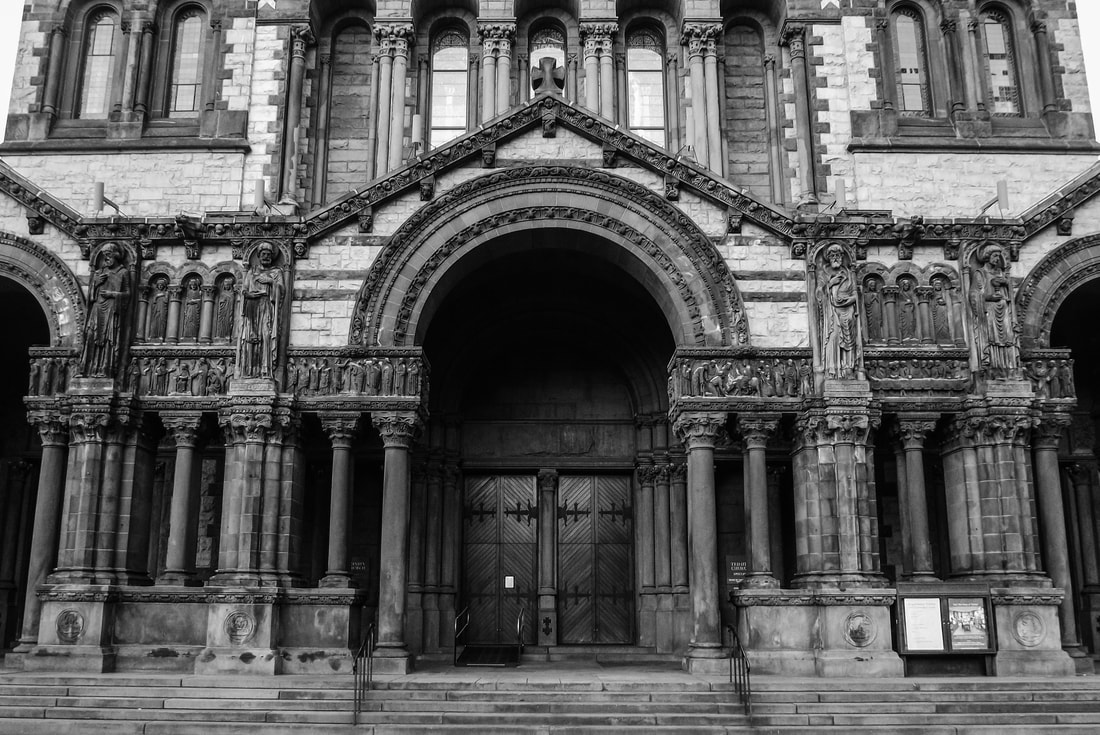
Black and White Architecture Image
The above image of the front of this old church looks looks,... well old. The distinctive details of the trim, columns and statues are from an era many, many years ago. (click image to enlarge) The lighter areas of brick in reality are a light tan and the columns and trim are brownish. The church looks good in color, but it looks even more historic and stately in this black and white image.
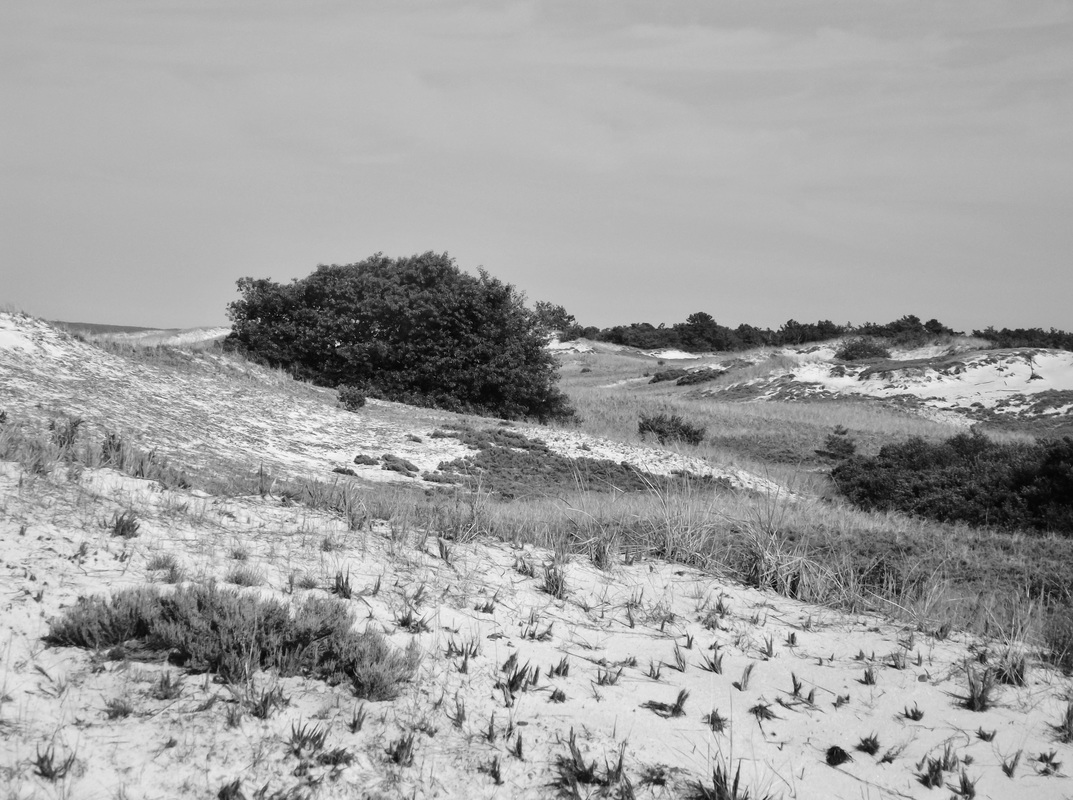
Black and White Landscape Image
The above landscape image has areas of trees/bushes and grass. In color, it looks like a somewhat desolate scene. However, in black and white without the green color representing some resemblance of life and water in the area, the scene looks a little more desolate. (but it still makes a nice image)
After some practice and careful review of your black and white images you will begin to get a feel for what works and what doesn't work for you in black and white.
Shoot in Color for Black and White?: Shooting in color for black and white images might not seem to make sense. However, that is exactly what many photographers do. While it is not absolutely necessary to shoot that way, here are two reasons that it is done.
First, lets say you take a great picture using your camera's black and white mode. Then, a few days later you decide it would look just as good if not better in color. At that point, you are just out of luck.
If you had taken the picture in color, made a copy, and then converted it to black and white with an editing program, you could then choose which version you prefer. (Actually, there are programs available that can convert black and white to color but the results are not excellent and it is probably not worth the effort.)
The second reason for shooting in color and then converting to black and white has to do with the amount of digital data that will be available for post processing (editing). There will be much more digital information about a scene or subject gathered by your camera's image sensor from a color shot than if it was shot in black and white.
So there will be more flexibility when adjustments are made for contrast, tones, etc. In black and white photography, a little enhancement or adjustment of tones, shadows, and contrast can often produce an even better image.
However, you might not own any editing programs or maybe you don't care to do any post processing. That fine! Just go out and take the pictures using your camera's black and white mode. Depending on your own standards, you should probably be able to take some pretty good shots by just switching your camera to the black and white mode.
Hopefully you have now learned a little about black and white photography. Your next step is to just go ahead and take some black and white shots. And as usual, practice, practice, practice. Good Luck!